
Enable attachments to an invoice format
To create a new invoice format and enable file uploads, read...
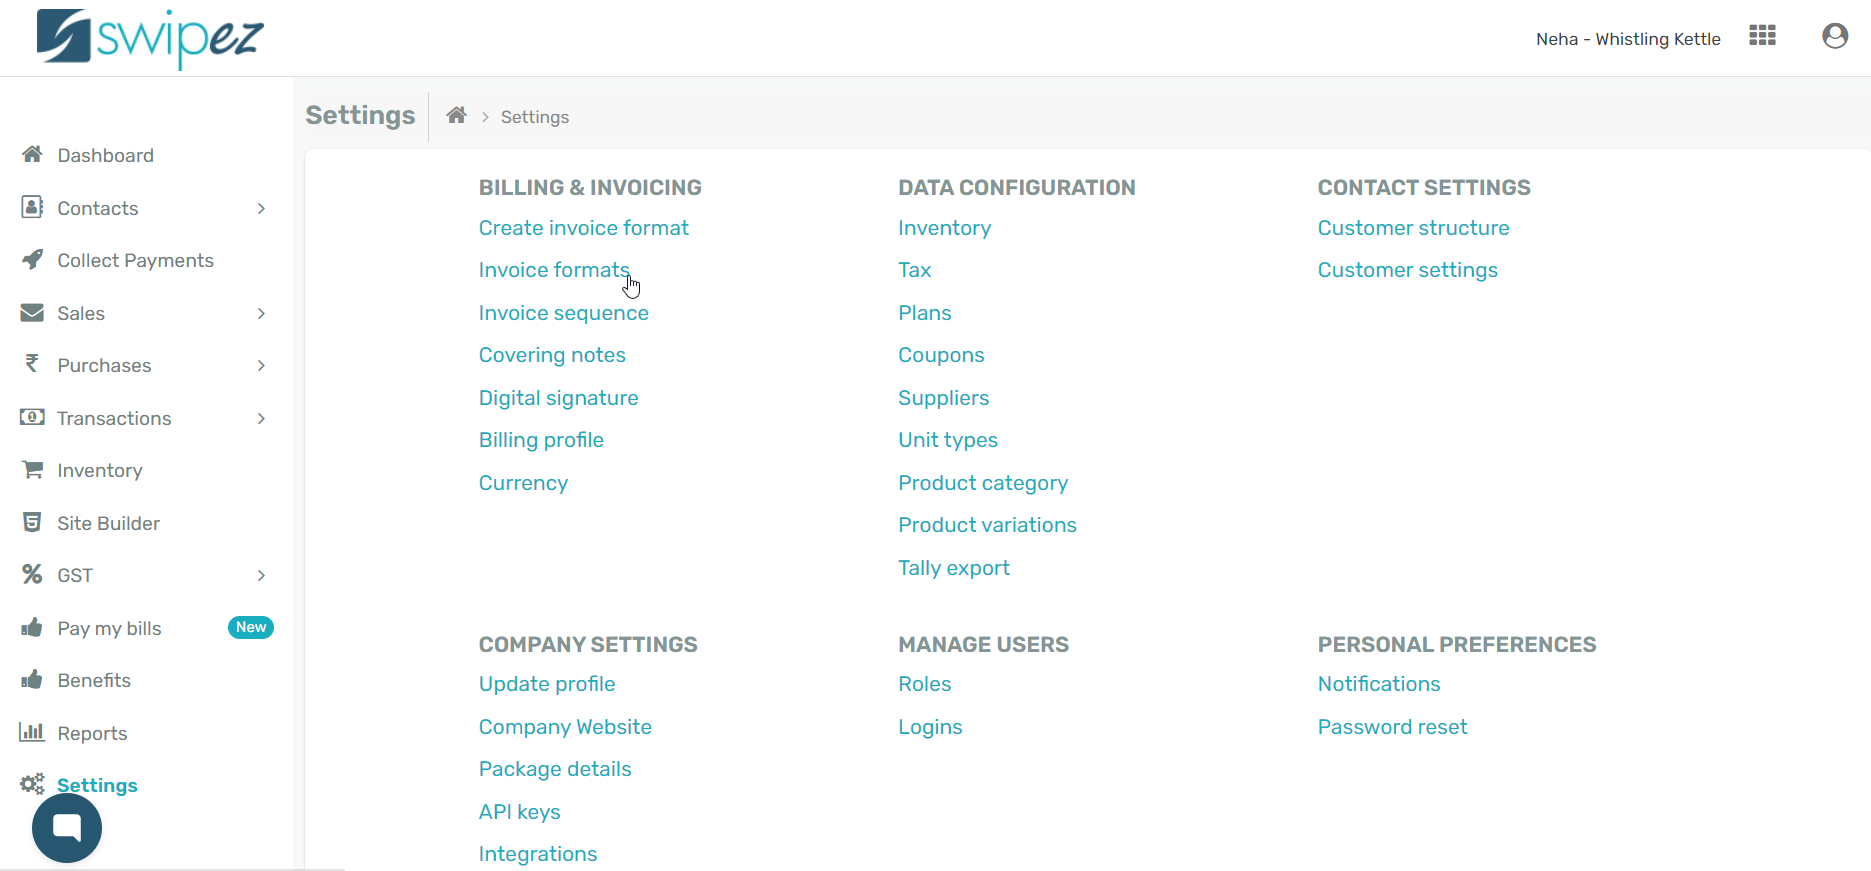
Navigate to Settings -> Invoice Formats under Billing & Invoicing.
Select the invoice format you want to enable the File upload plugin for and click on the Actions ⋮ button next to the chosen invoice format.
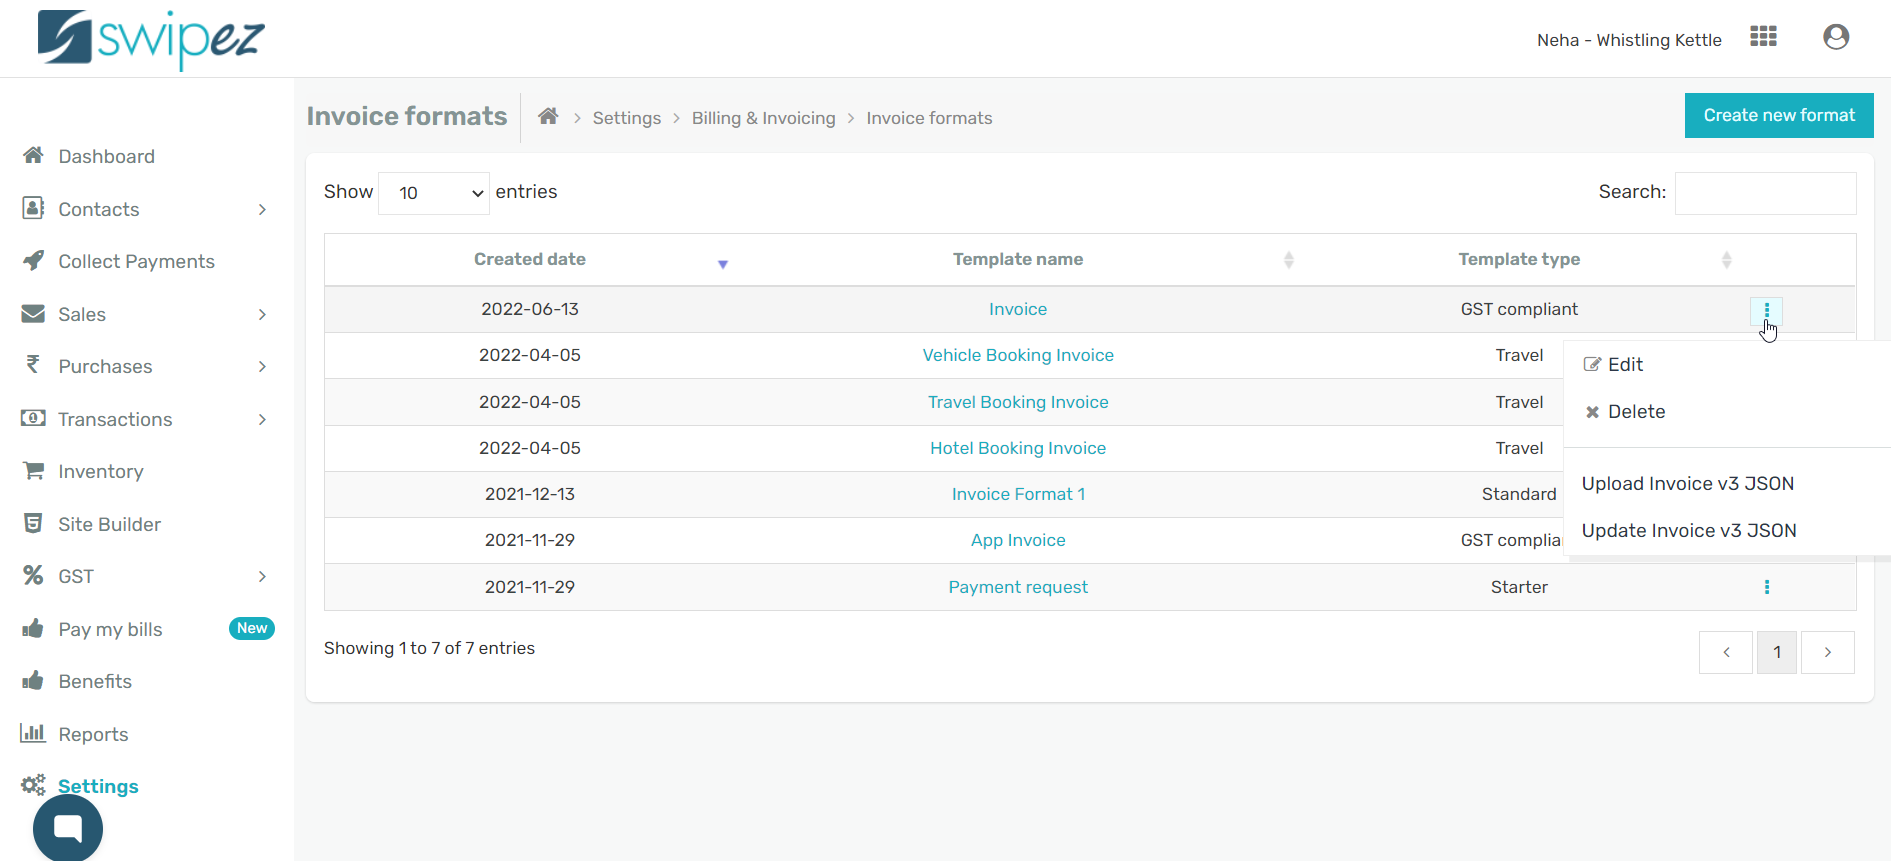
Choose the Edit option from Actions ⋮ button. Scroll down to the Plugins section of the invoice format and click on Choose Plugins to enable the plugin.

Against the File upload plugin, click the toggle to switch it On and close the plugins window.
In the Plugins section of your invoice format, the File upload plugin has been enabled. Click Save in the Final summary section to save the changes to the invoice format.

Create an invoice with attachments
To send an invoice with attachments, navigate to Collect Payments -> Create Invoice
Select the invoice format you want to add attachments and add the details of the invoice.
In the Invoice information section click on the Choose File button to Upload file. Select the file you want to attach to your invoice.
In the Final summary section, click on Preview invoice to review the invoice and the file uploaded.
View document and if you want to upload a different document or image choose the Update invoice option. Click on Save & Send to send the invoice to your customers with the uploaded file as an attachment via email & SMS.
Related apps
- Billing software - Free billing software, recurring invoices, custom notifications, online payments and payment reminders