
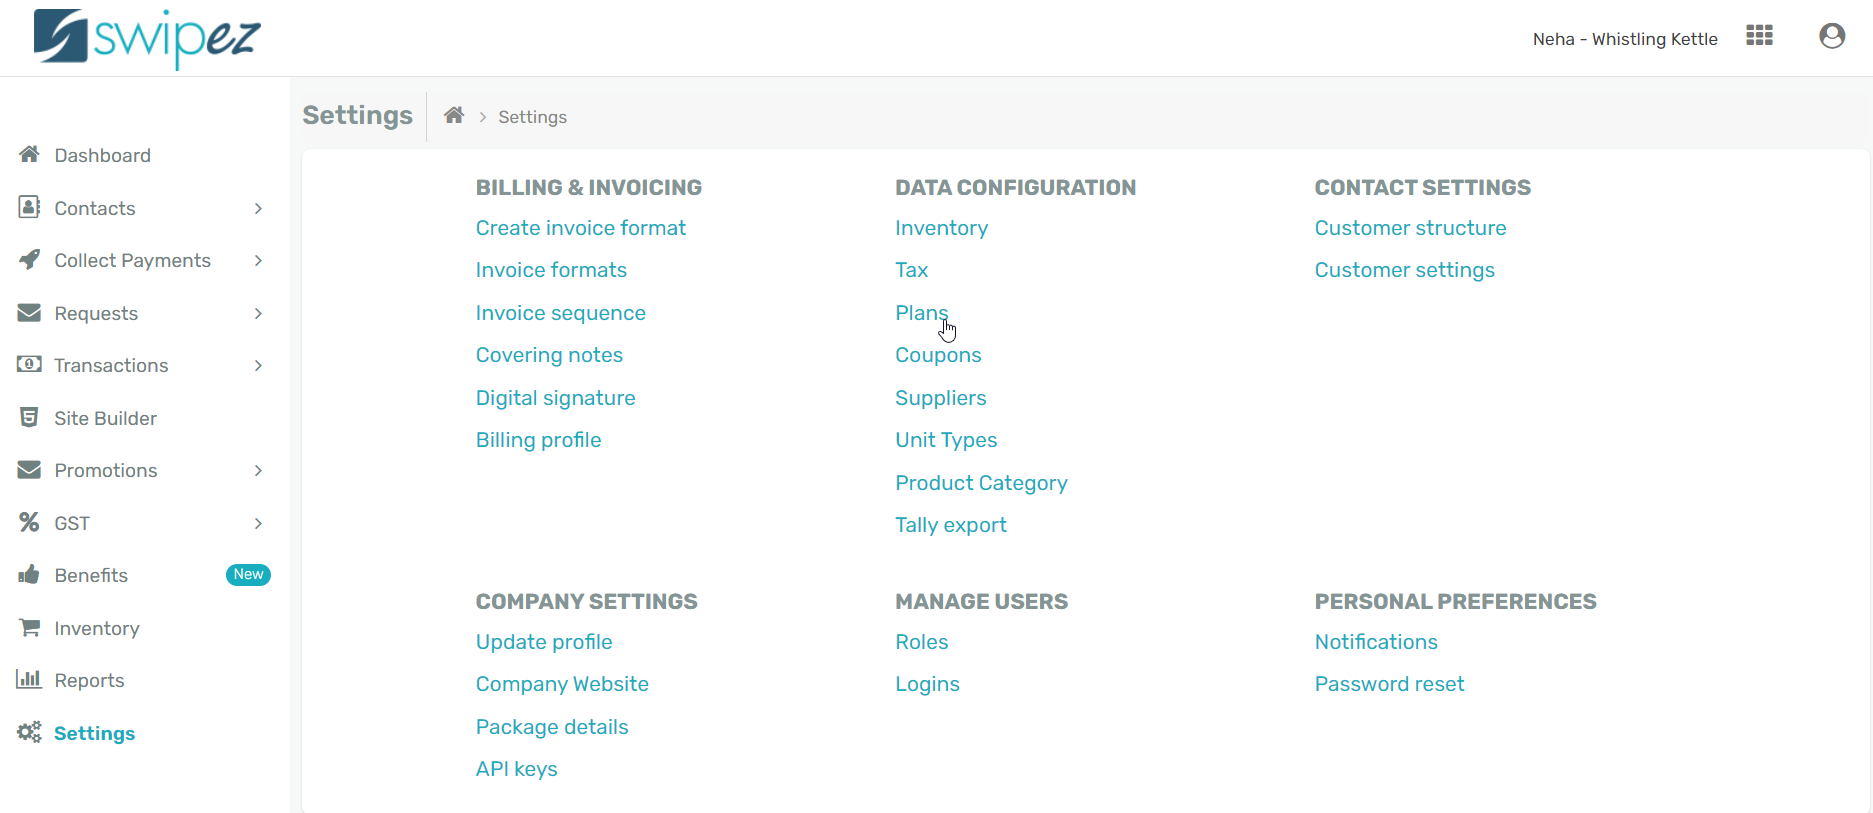
Navigate to Settings and click on the Plans option under the Data Configuration tab.
Create a new plan
Click on the Add new plan button to create a new plan.

Add the details of the plan like Source name, Category name, Plan name, Speed, Data limit, Duration of validity, Price, and applicable taxes.
The Source name helps you identify the source of the plan while the Category name helps you distinguish the kind of plan it is. You can add details like Plan name to uniquely identify the different plans under the {TK} Include details like the Speed of the package (in MBPS), Data limit, and Duration of the plan along with the Price and applicable taxes on the plan. You can further add tax percentages as per your requirements.

Click on Save to save your Plan package.
Review and Edit a plan
You can review all the plans created in the Plan List dashboard. To edit a plan, click on the Actions ⋮ button next to the chosen plan. You can change the details of the plan by clicking on the Edit option, or Delete the plan.

Create invoices for plans
To create invoices for your plans, navigate to Plan settings from Settings -> Data Configuration. Enable the Activate invoicing toggle and choose an Invoice template for the invoices generated for the plans. You can to choose to send invoices to your customers as per your requirement.
Click Save to save your plan settings for invoices.

Review payments made through plans
Navigate to Plans from the Transactions section of your dashboard to review the different plan based transactions. You can review the different transaction details like customer name, mode of payment, amount, status of the payment, and more.

You can also review the collections made through plan payments by navigating to Plan payments under the Collections tab in the Reports section. You can review details of the payments like date of payment, amount, the plan the payment is for, and more.

You're all good to go! Would you like to know how to create a customer? Click here to learn more.