
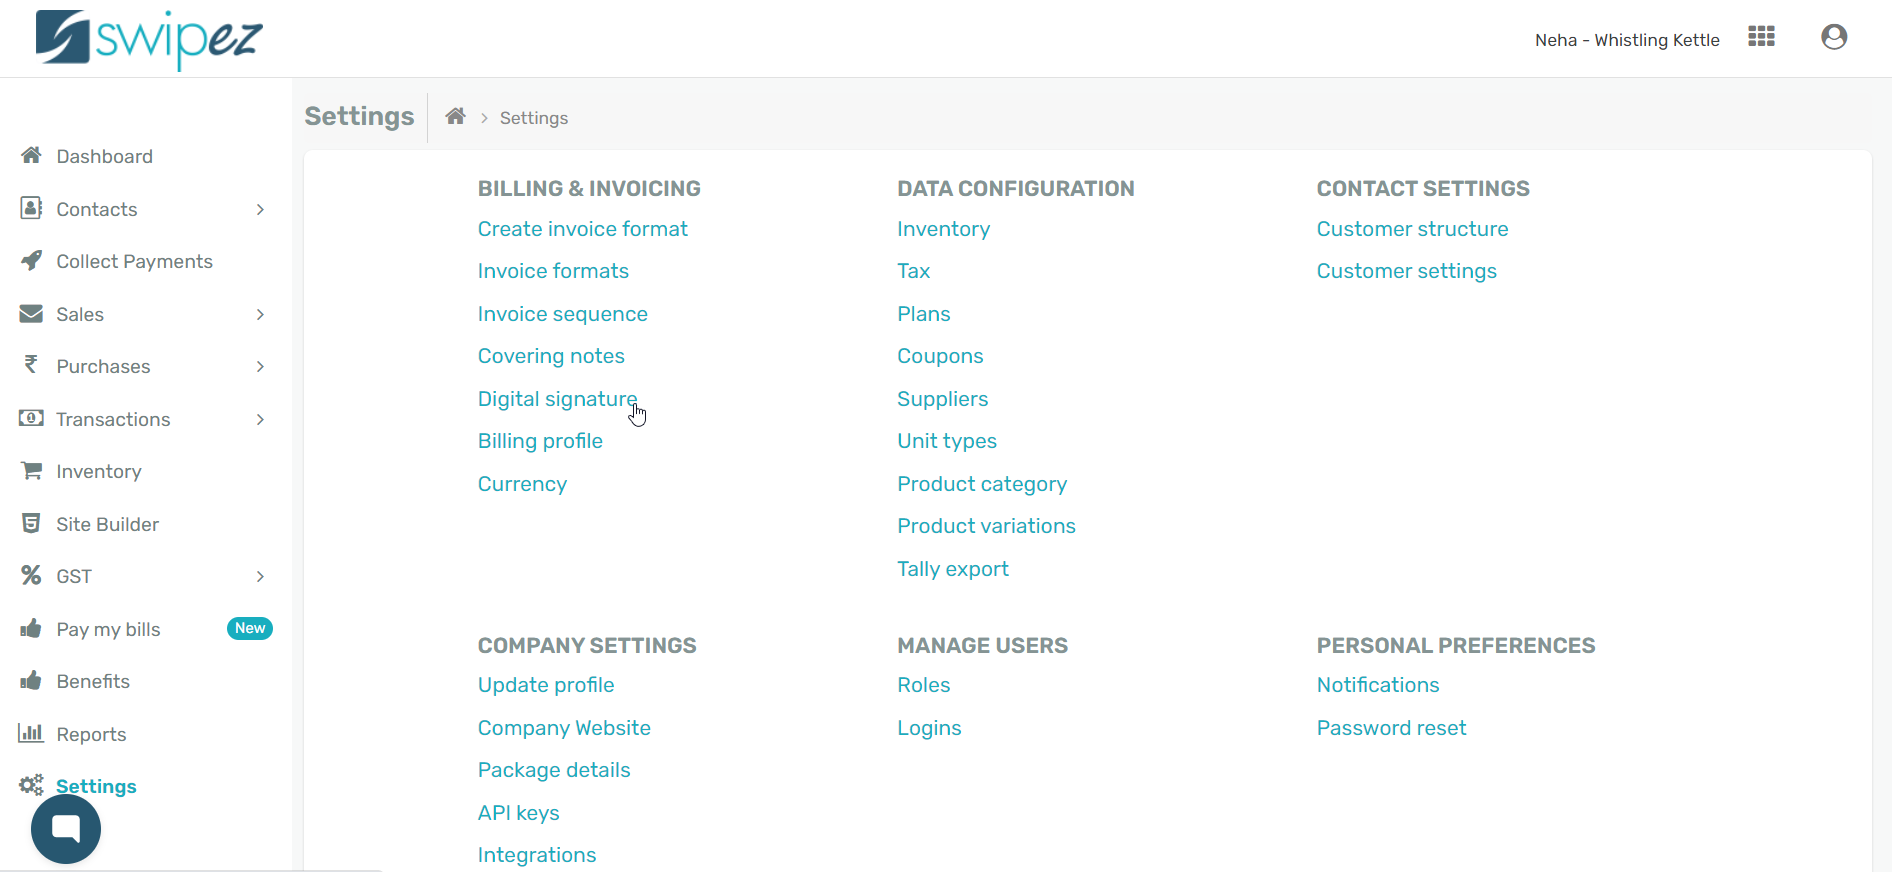
Create a digital signature
Navigate to the Settings tab within the dashboard. Under the Billing & Invoicing section click on the Digital signature option.
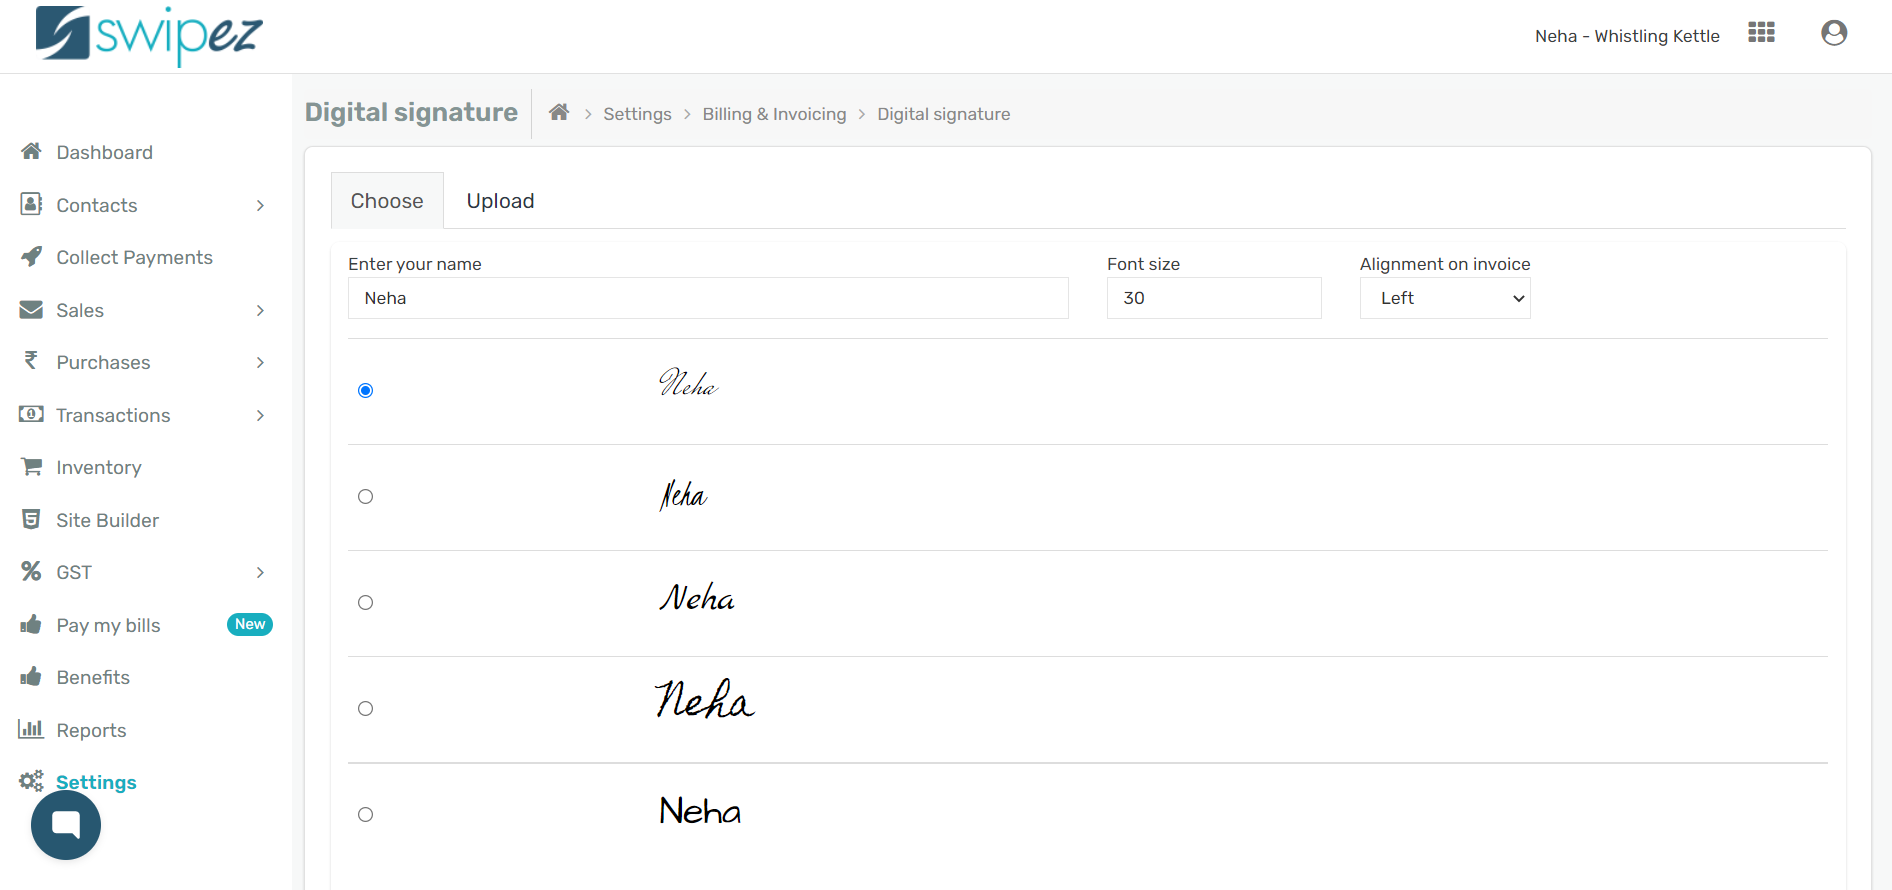
You can choose from the different variations of your signature to start adding them to your invoices.
You can change your name, add a surname, and more in the Enter your name field. Customize the Font size, and Alignment on invoice of your digital signature and click Submit to save the changes.
Or, Upload a PDF or Image file of your signature to start adding them to your invoices. Click on the Choose File to Upload your signature. Choose Alignment on invoice from the drop-list to select where you want the digital signature to appear.
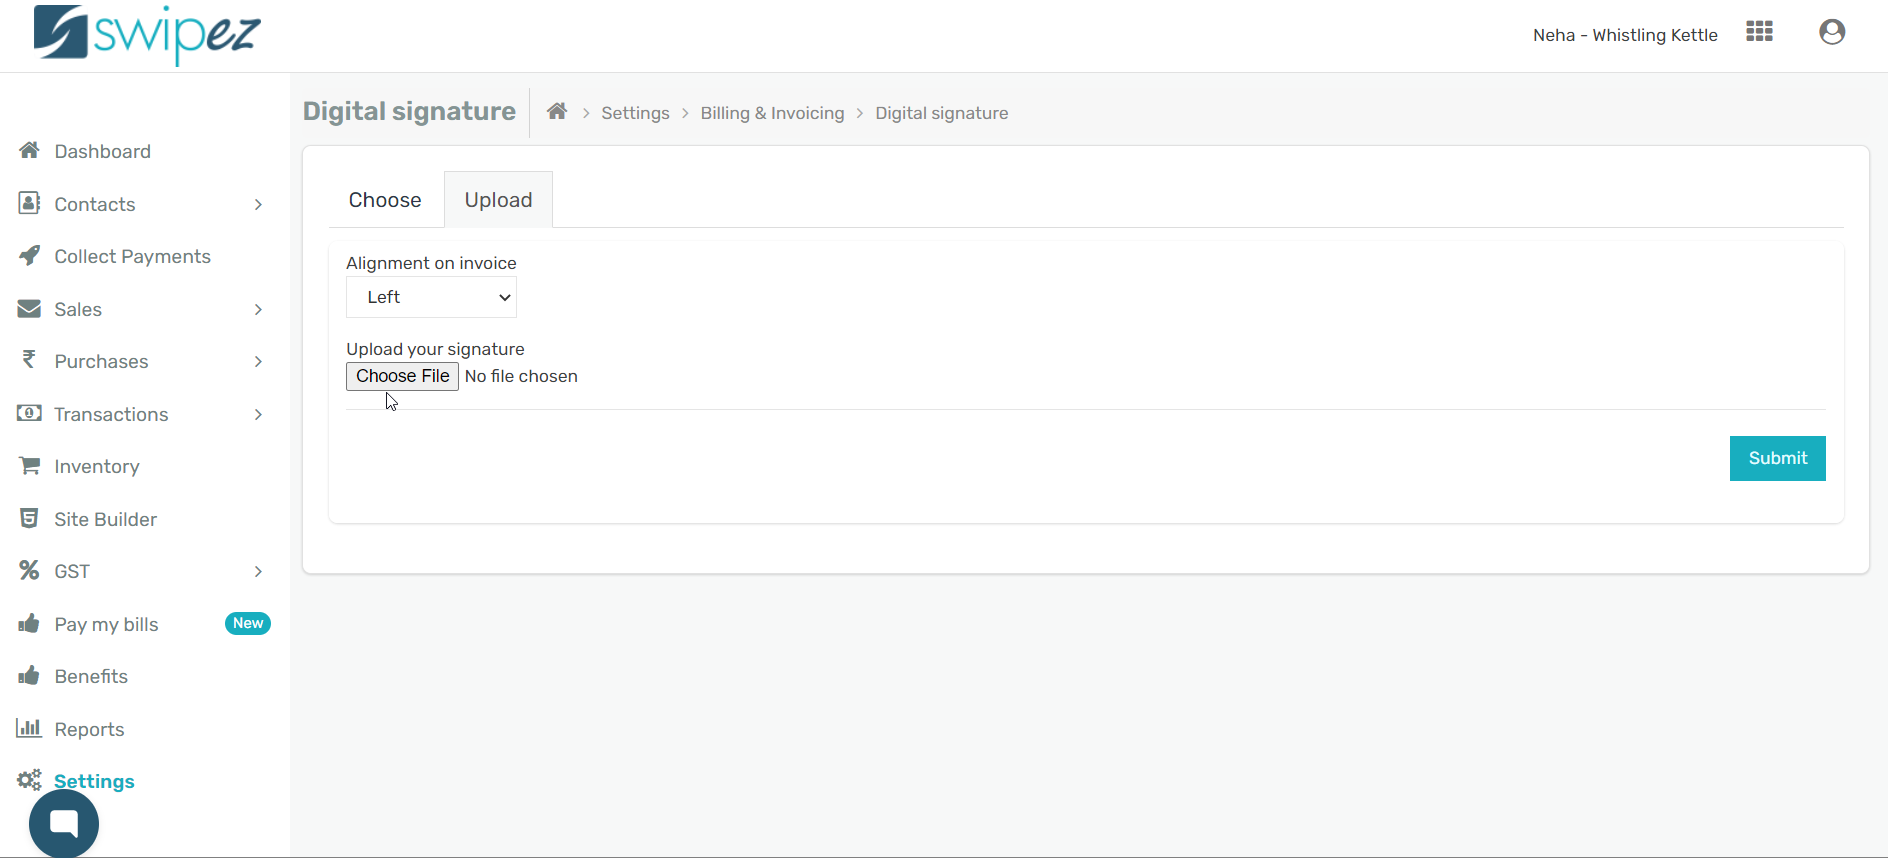
Click Submit to save the signature and your changes.
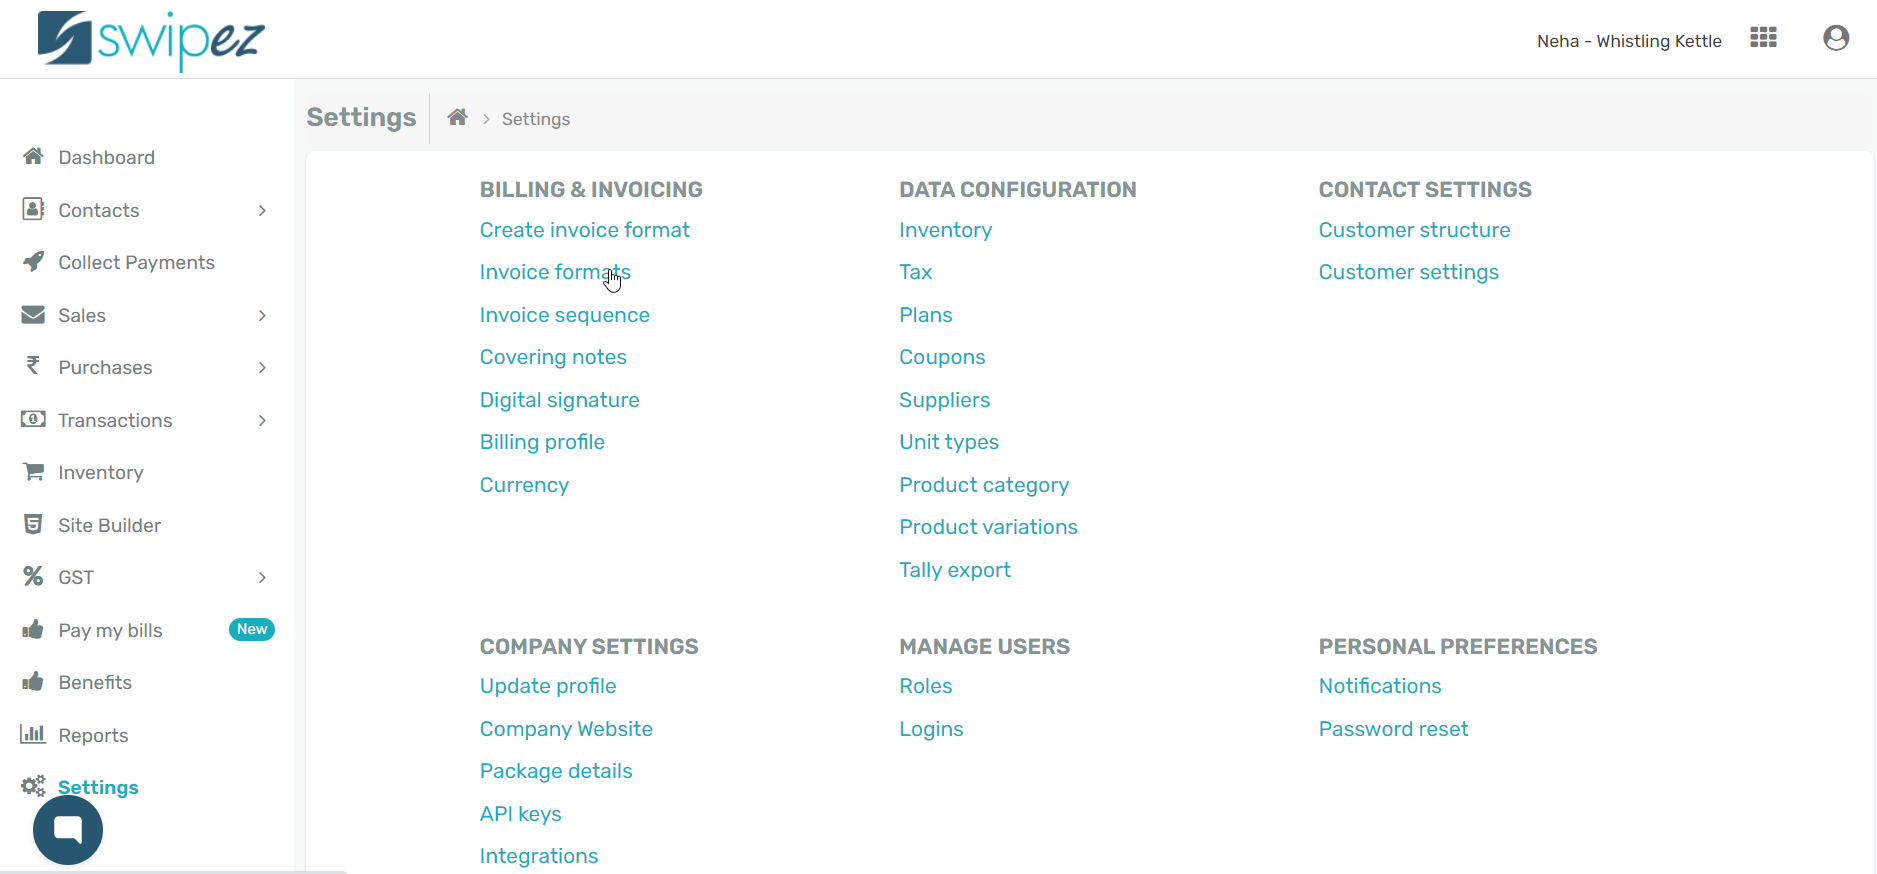
Add digital signature to your invoices
Navigate to the Settings tab within the dashboard. Under the Billing & Invoicing section click on the Invoice formats option.
Select the invoice format you want to enable the digital signature plugin for and click on the Actions ⋮ button next to the chosen invoice format to Edit and add the plugin.

Scroll down to the Plugins section and click on Choose Plugins.

A pop-up menu of all the plugins you can add to your invoices will appear. Scroll down to the bottom and switch on the Digital Signature plugin. Click on Save to save the changes made to your invoice format.
The invoices created with this format will include the digital signature displayed in the bottom of the page.
Related apps
- Billing software - Pre-paid invoicing, free billing software, custom notifications, online payments and payment reminders