
Expenses can be uploaded using an excel sheet onto your account. This removes the manual effort of tracking expenses for your organization.
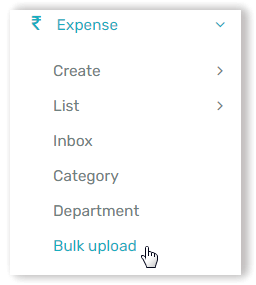
To begin start by navigating to Expense -> Bulk Upload
Download expense bulk upload format
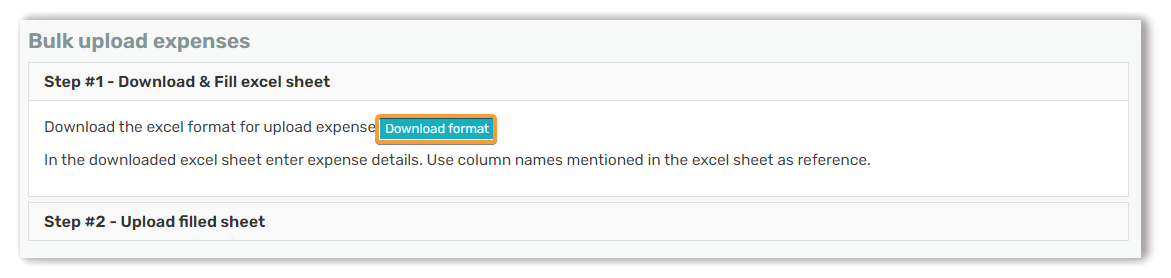
The first step to creating expense entries in bulk is to download an excel file format to enter your expense entries. Download the template by clicking the Download format button.
Upload expense data
Next enter your expense data into the downloaded sheet and upload your updated excel under Step #2 - Upload filled sheet section
Your uploaded sheet will show with the status as Processing. It would take about 6 minutes for your expenses sheet to be processed.
Error checking of uploaded sheet
If there are any errors found while processing. The status of the uploaded sheet is changed to Errors in excel. Using the Actions button you can view the list of errors. The error listing will mention the excel line number and the excel column that need to be corrected. After correcting the errors found in the excel sheet you can upload the corrected sheet using the Re-upload sheet option in the Actions button
Preview uploaded sheet
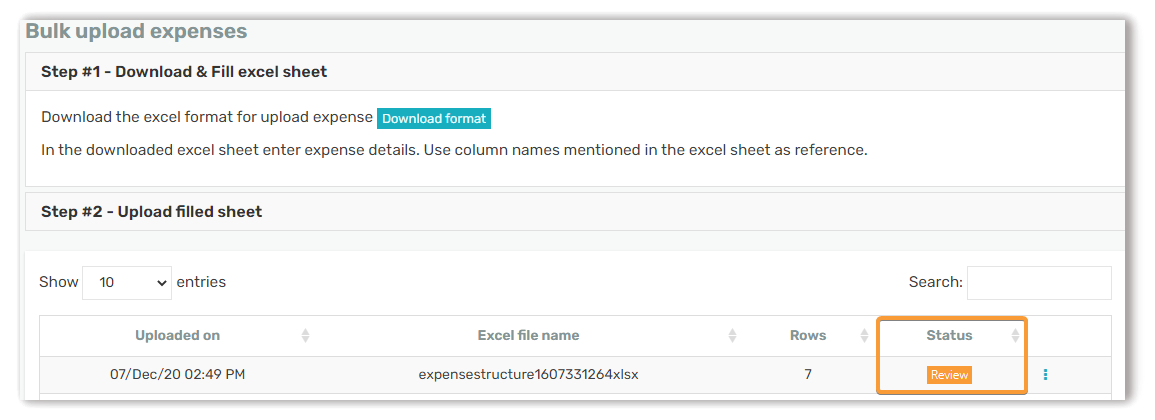
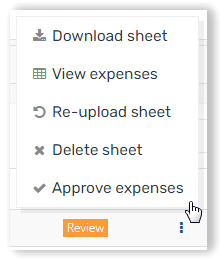
Uploads without any validation errors are shown with the status as Review. You can review the expense entries created from the excel upload. Upon review you can approve the upload by clicking Approve expenses from the Actions ⋮ button.
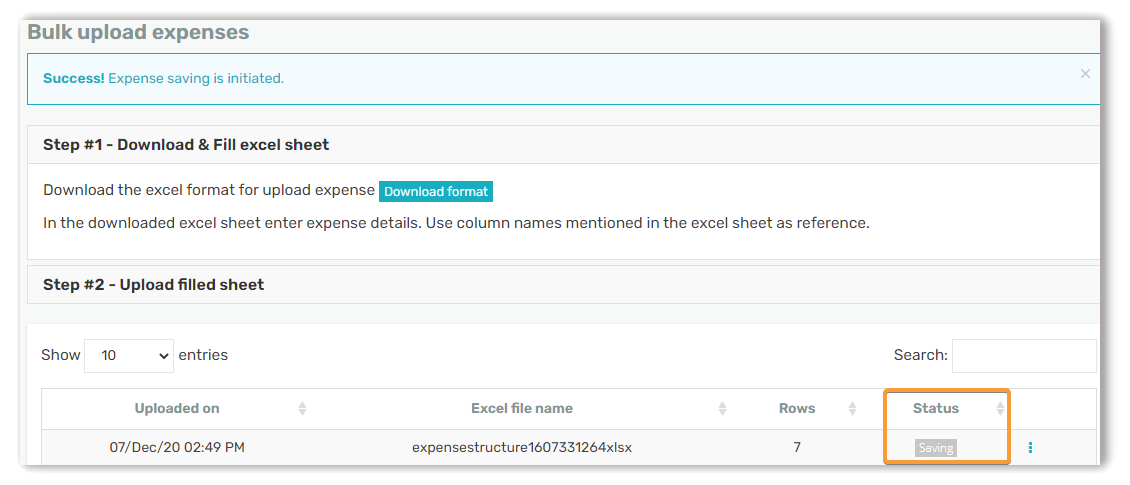
Upon approving your upload the status is changed to Saving. A background process will begin saving your expense entries to your account. This process take about 5 minutes to complete
The process on completion changes the status to Processed and with this you have bulk uploaded multiple expenses into your account.