
An estimate should provide a clear understanding of the services or products you will provide your client along with cost break up and the total cost including any taxation information. An accurate estimate helps your client to budget for cost incurred and plan for making your payment on time.
Your account comes with multiple estimate formats already built in.
Note:
- The same format used to create an invoice can be reused to create an estimate
You can reuse an existing invoice format to create your estimate or choose and customize a new estimate format as per your business requirements. To know more about creating an invoice format, read...
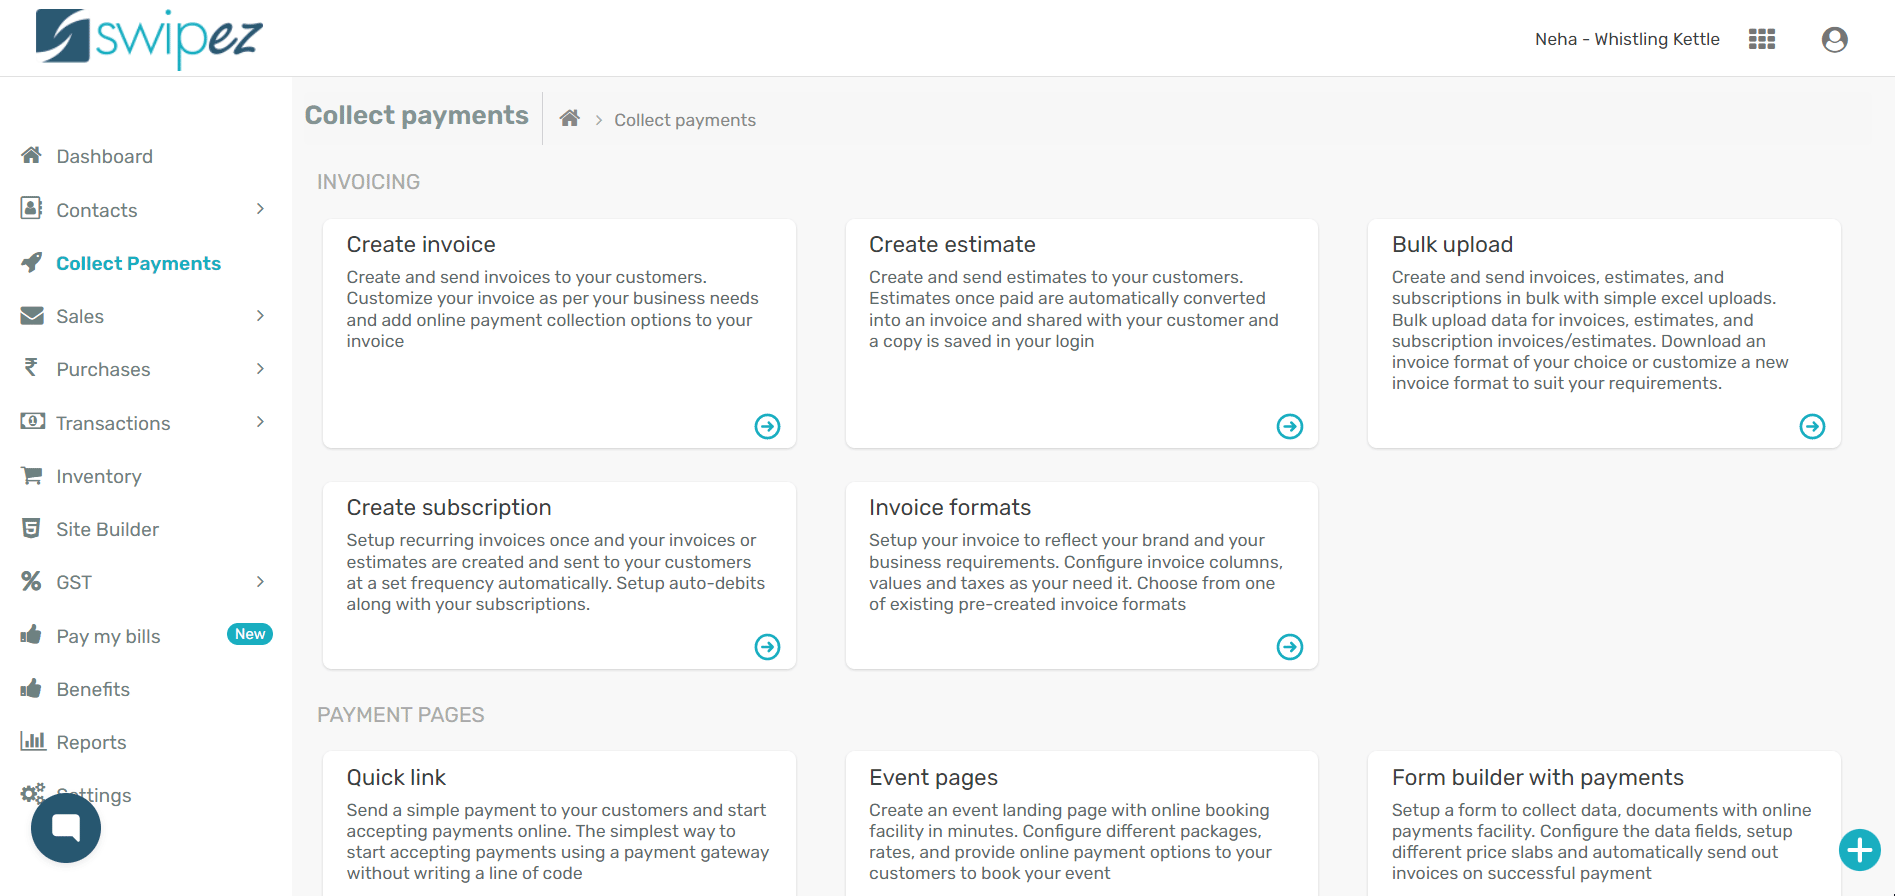
Select estimate format
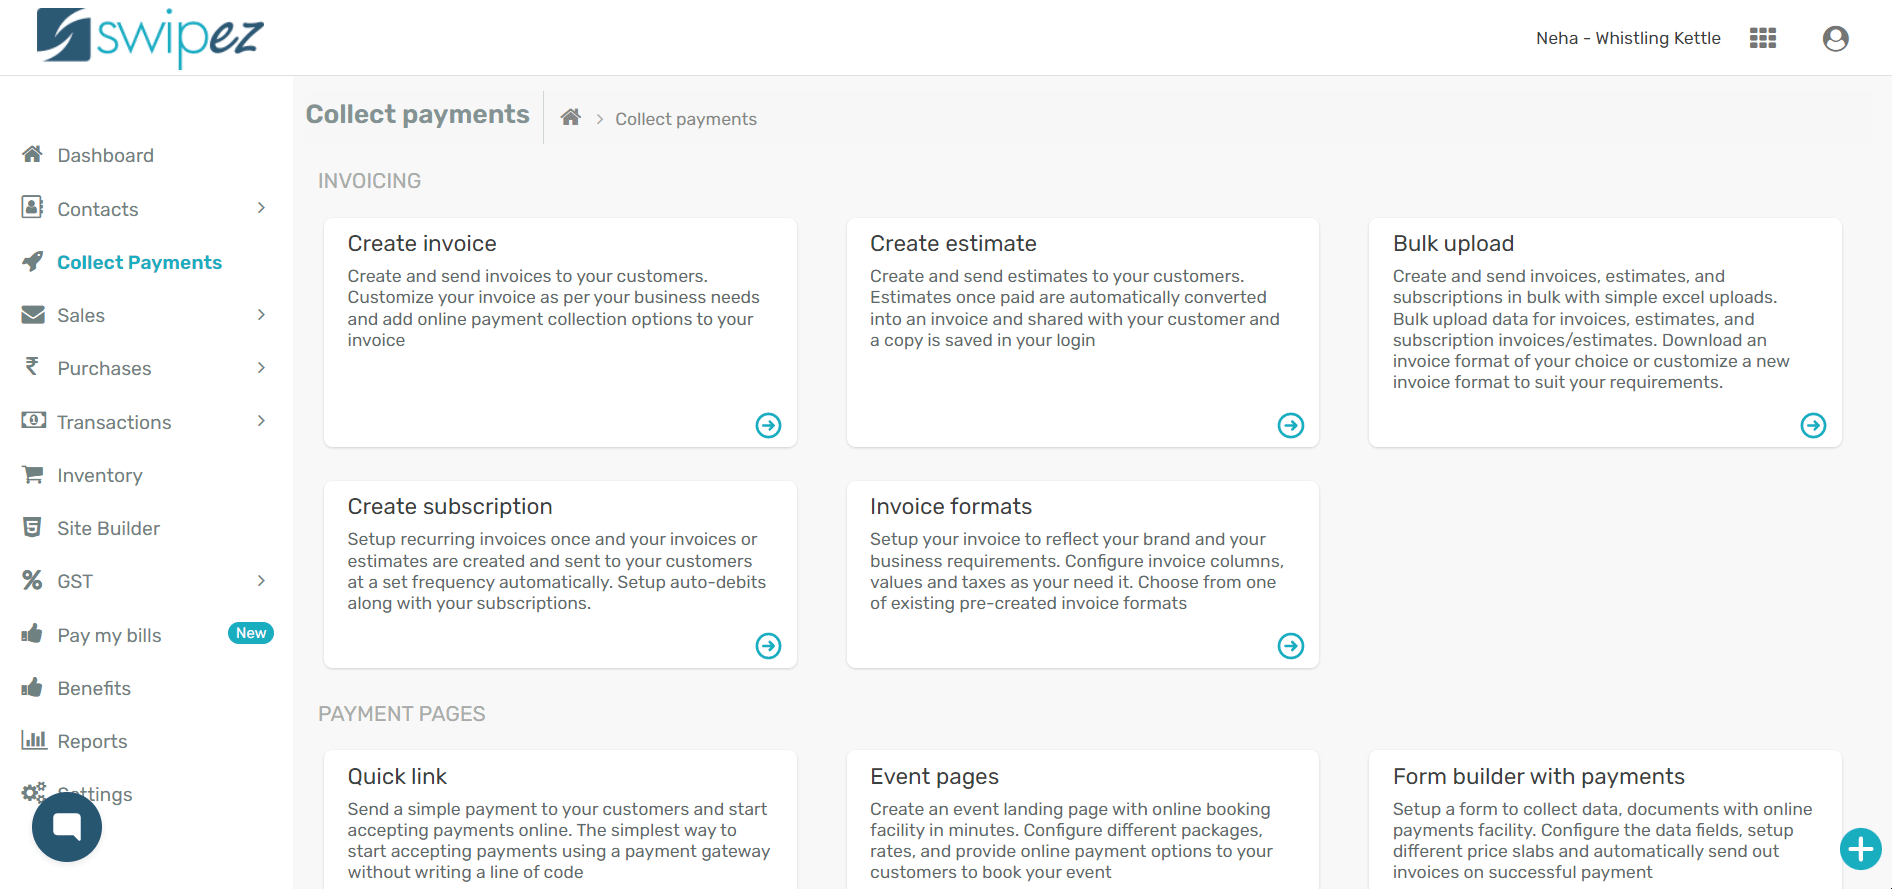
Navigate to Collect Payments -> Create Estimate and select the invoice format of your choice and hit Select.
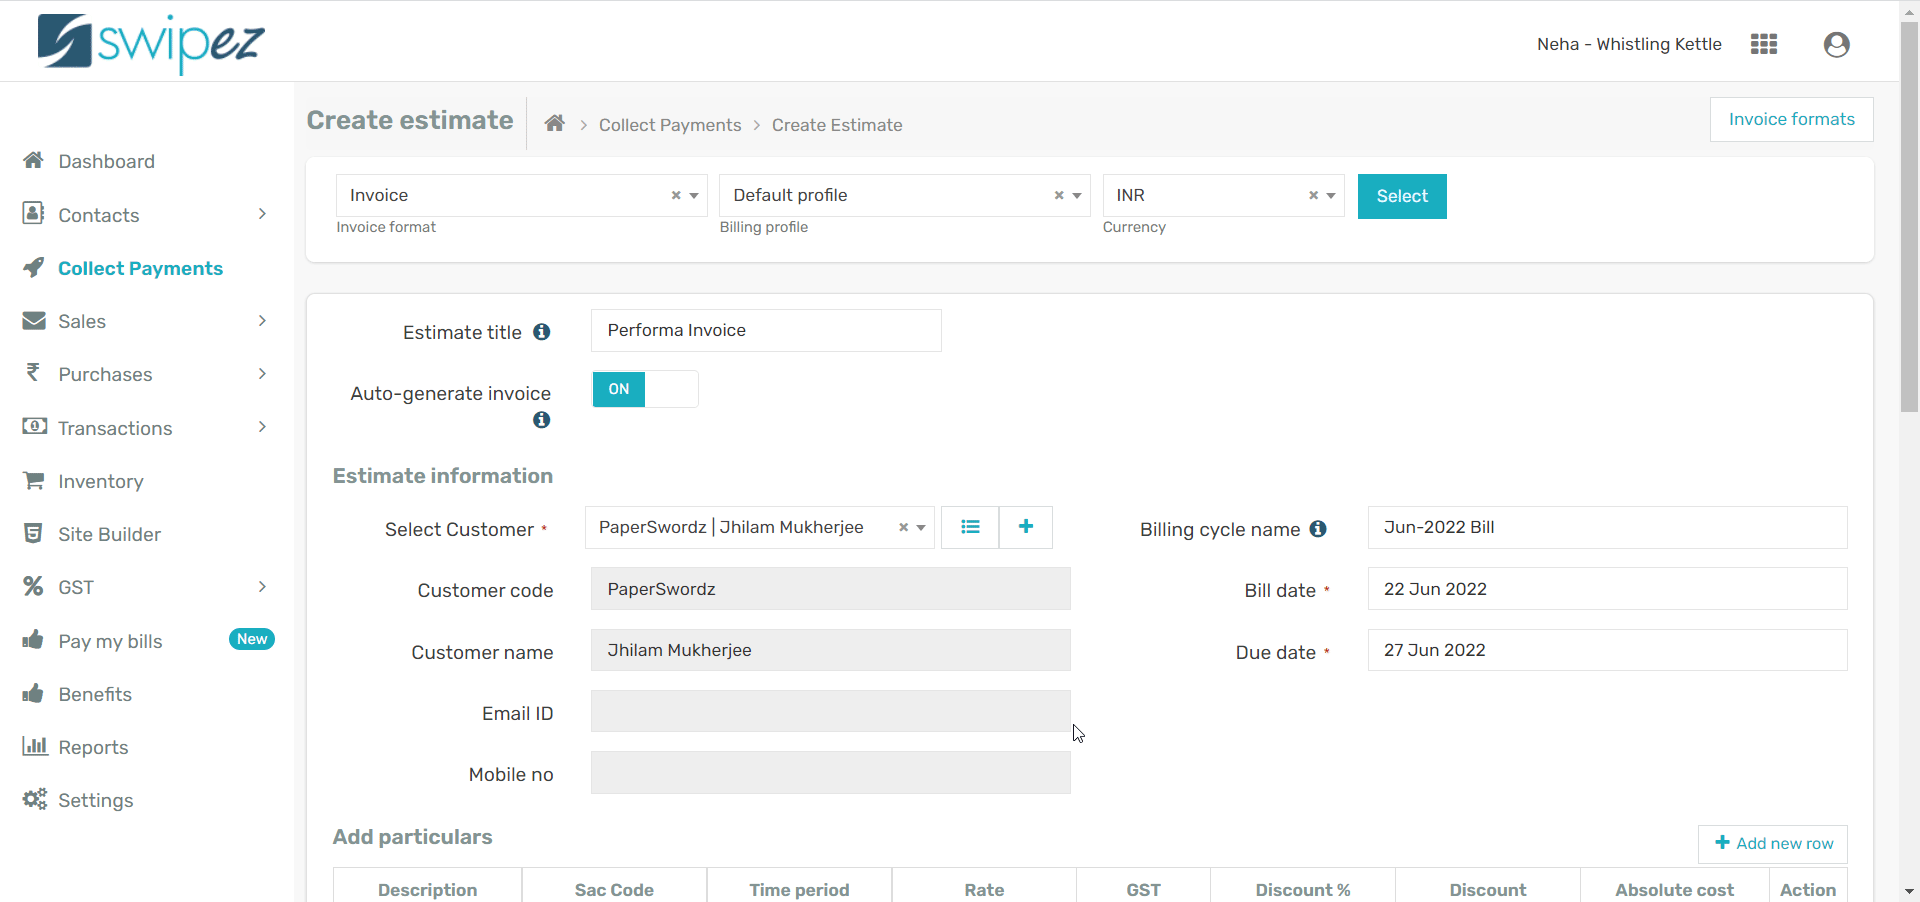
Add customer details to your estimate
The Estimate title helps to set the title for your estimate. The default title it is set as Proforma Invoice, which you can change to "Estimate", "Proposal", or a term that suits you.
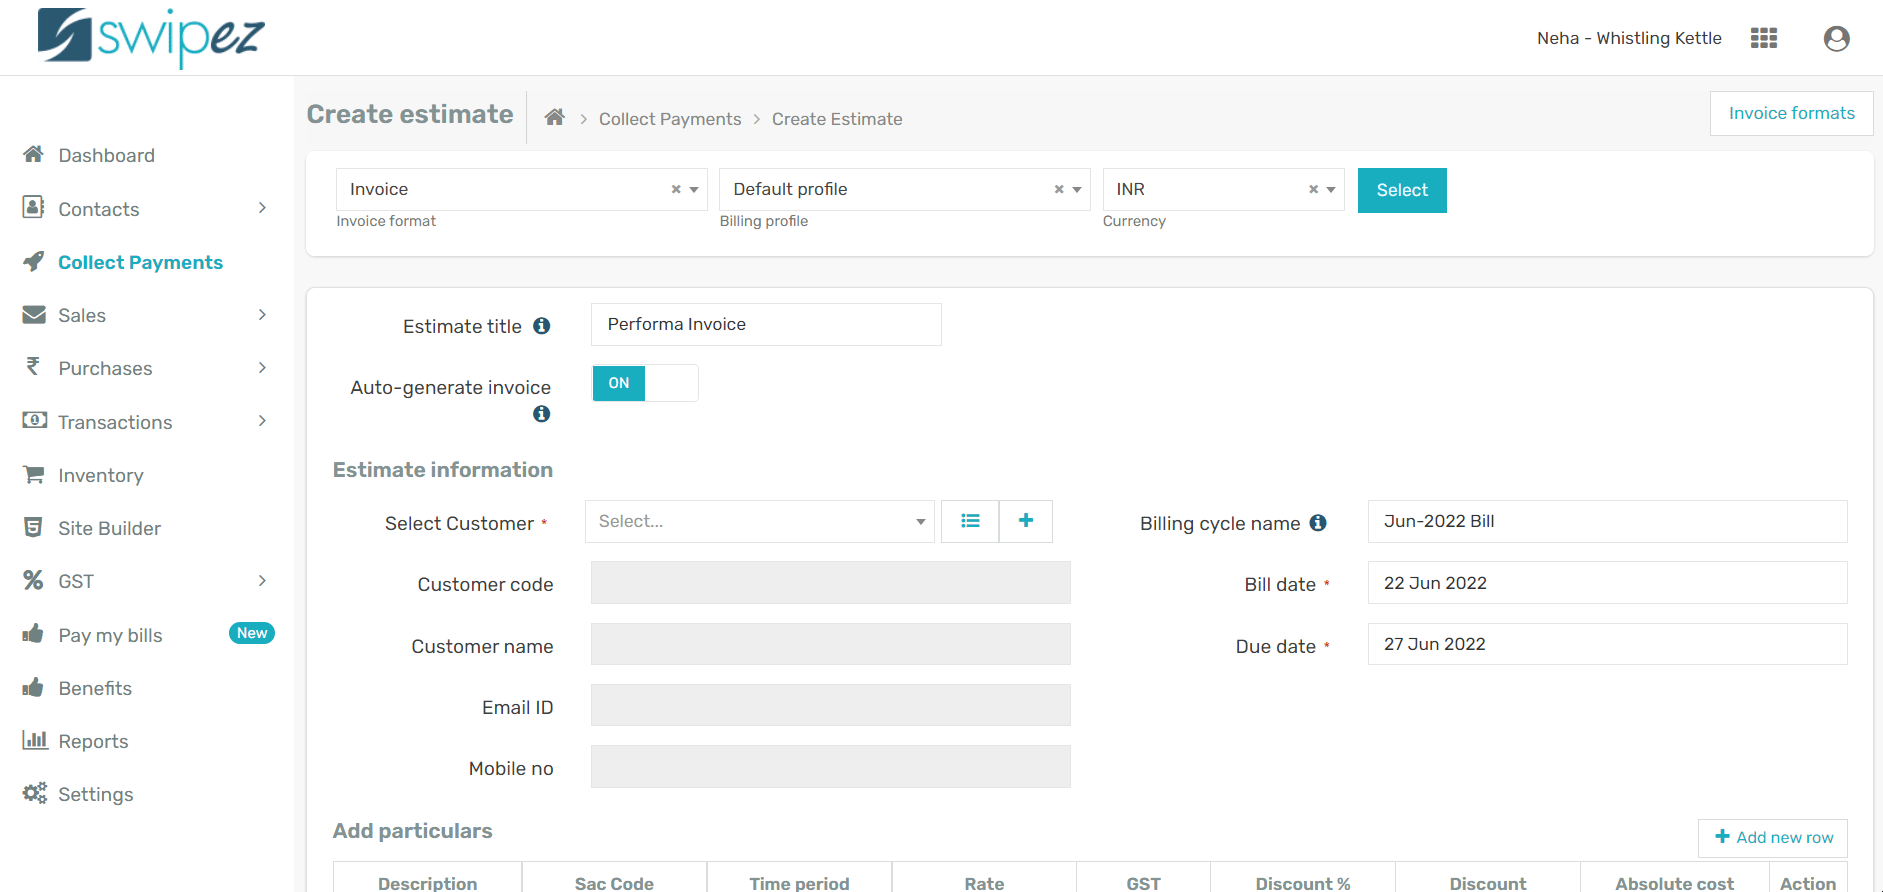
In the Estimate Information section, select the customer you want to send the invoice to. Customer data like Customer code, Customer name, Email id, Mobile number and other customer information will be automatically fetched and added from your customer database.
To add a new customer click on the + button next to the Select Customer field.
To know more about adding new customers, read...
Setup estimate billing details
In the Estimate Information section, you need to set your bill date, due date and other fields you would have added in your invoice format.
Bill date field is the date the invoice is issued. Due date field helps in sending timely reminders to your customers. Invoice payment reminders are configurable and can be setup as per your requirement.
To know more about how to create and customize your payment reminder schedule, read...
Include items of sale in your estimate
Items of sale indicate the goods or service you are billing your client. You can add multiple items of sale or particulars in one estimate. Every particular at a minimum needs a description and amount. The amount field Absolute cost in your particular items is summed up and which makes up the Grand Total along with taxes.
Add new products to your estimate

You can add new products with information such as;
- Type- You can specify the item included in the estimate as a product or service.
- Name- Add names for the different products/services included in the estimate.
- HSN/SAC Code- A simple search provides HSN/SAC codes for different products/services along with applicable GST rates. Add items to the estimate with accurate GST calculations.
- Sales Information- Add sale price for the items along with a description* (optional). You can also set up and manage your growing inventory by adding product photos and purchase information for future accessibility.
To know more about creating and managing a list of products and/or services for your inventory, read...
Add taxes to your estimate
There are two ways to add taxes into your estimate:
- Estimate level taxes — Taxes that are common for all the items in your estimate
- Item level tax — Tax which is relevant only for an item within your estimate
Estimate level taxes
In the Add taxes section under Tax label select the relevant taxes as per your business category. Set the Applicable on values and the tax amounts are auto-calculated and added into the Grand Total of your invoice

Item level tax
In case where there are multiple items at different tax values you set the GST at an item level. Once you have added your particulars with their respective taxes the Add taxes automatically reflects the selected taxes as per your particular entries. Here is the corresponding Add taxes section for the items shown above.
Preview your estimates
Preview your invoices before sending them across to your customers. Click on the Preview estimate button in the Final summary section to review the details of the estimate.
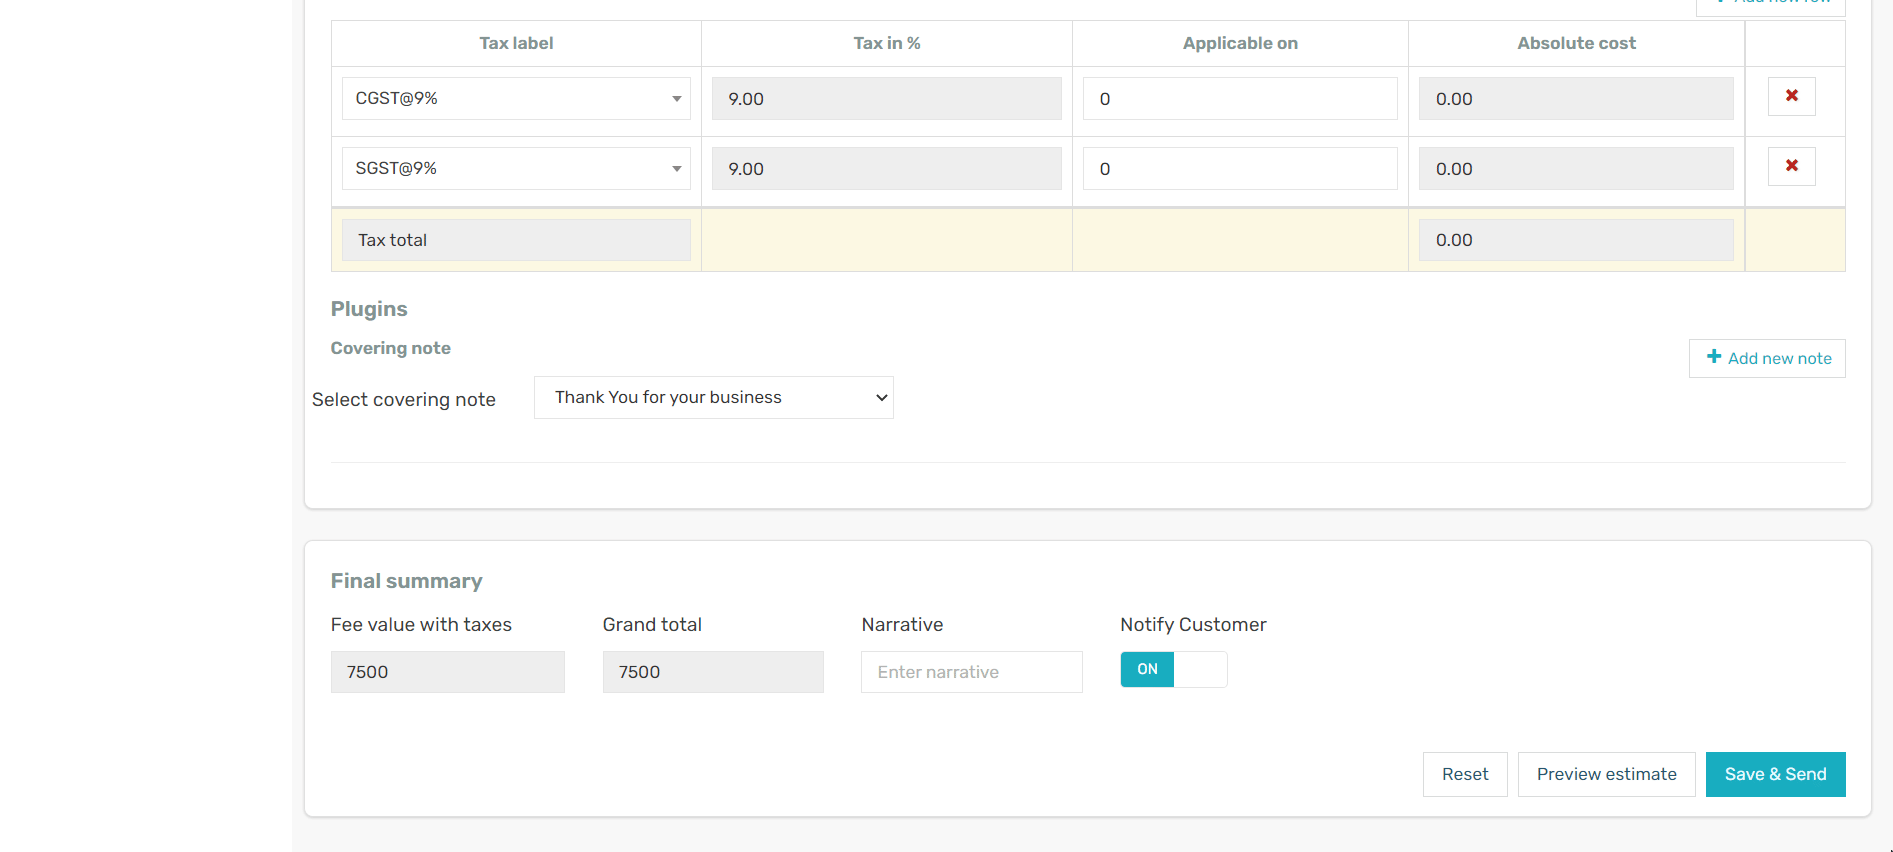
Click on the Save & Send button, if the invoice meets your requirements. Or, click the Update invoice button to make the necessary changes.
Send your estimate via email and SMS
Using the Notify patron button you could either Save this estimate or Save & Send this estimate.

Turn the Notify patron toggle OFF to simply Save the estimate. Switch it ON to Save & Send, and the estimate will be sent to your client over email and SMS. The client receives your estimate on their email id and mobile number as saved in your customer database.
To know more about creating your customer database structure, read...
Convert your estimate to an invoice
Automatic conversion of estimate to invoice
The estimate sent to your customer has an online payment option. If your customer pays your estimate online it is automatically converted into an invoice. A copy of the invoice is sent to your customer and the invoice is stored in your account.
Manually conversion of estimate to invoice
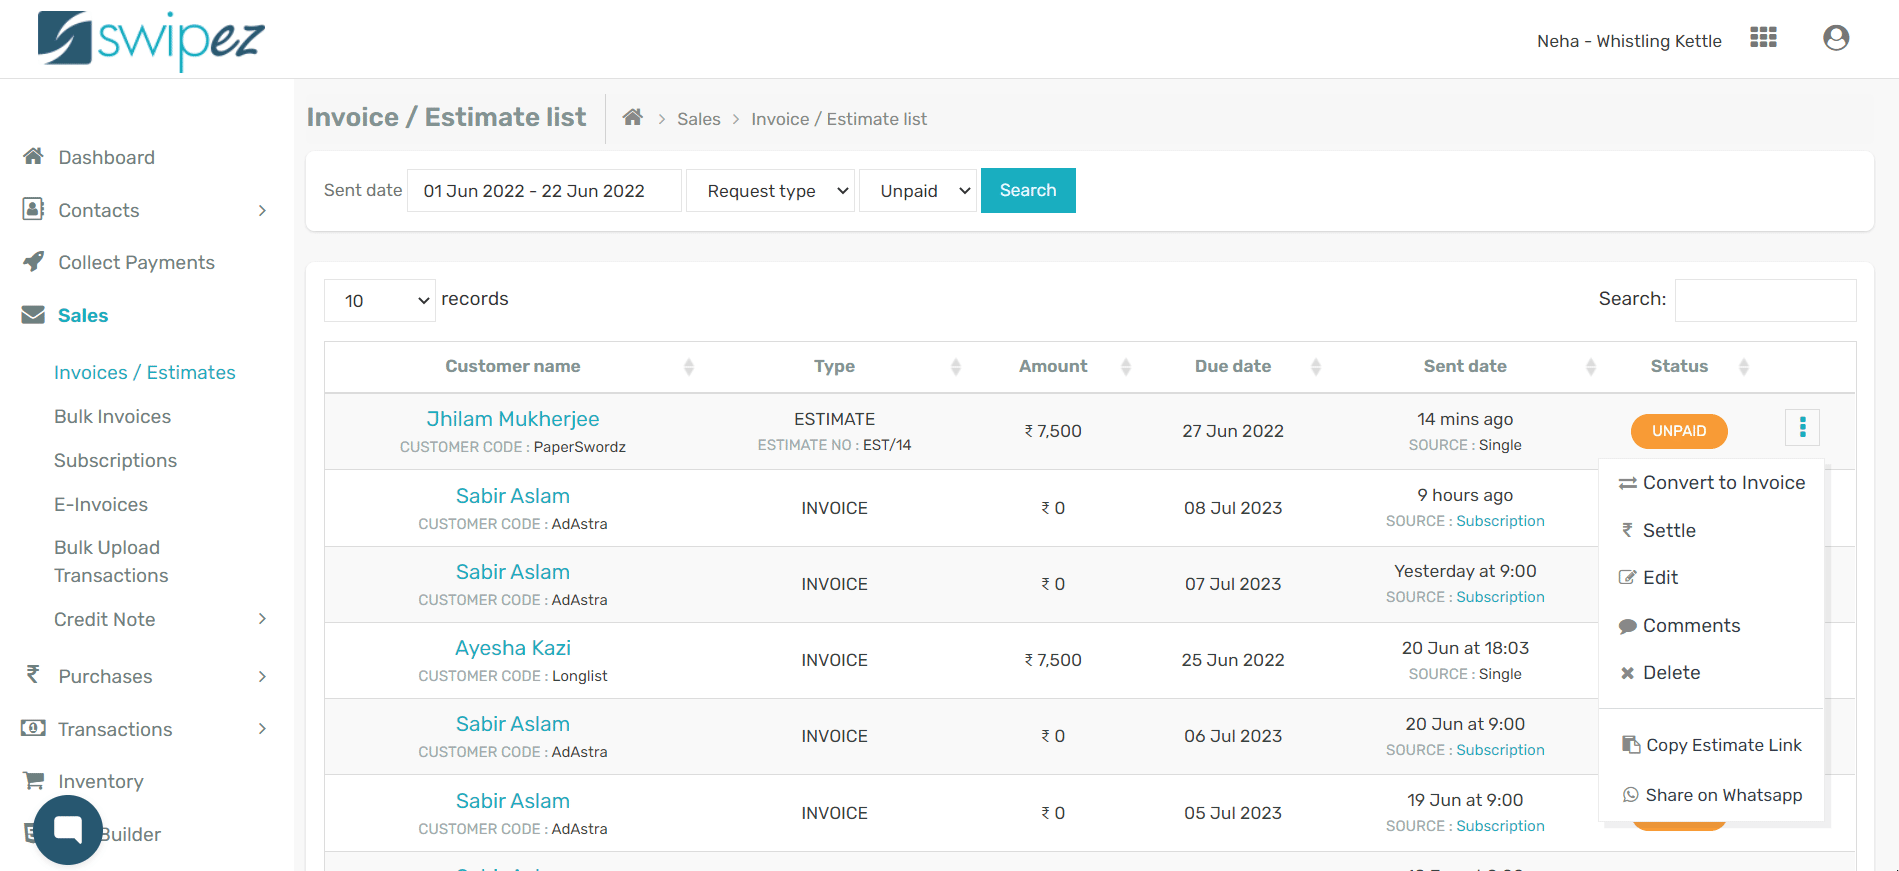
To convert your estimate to an invoice, navigate to Sales -> Invoices / Estimates. On the Invoice/Estimate list page, and click on the Action ⋮ button next to the estimate that you want to change into an invoice and select Convert to Invoice from the drop-down list.
In the pop-up Convert to Invoice window, click on the Submit button to change the estimate into an invoice.
Your estimate will be converted to an invoice and saved in your account.

That's it! You are all set to create estimates and convert them to invoices as per your requirements.
Related apps
- Billing software - Free billing software, bulk invoicing, online payments and payment reminders