
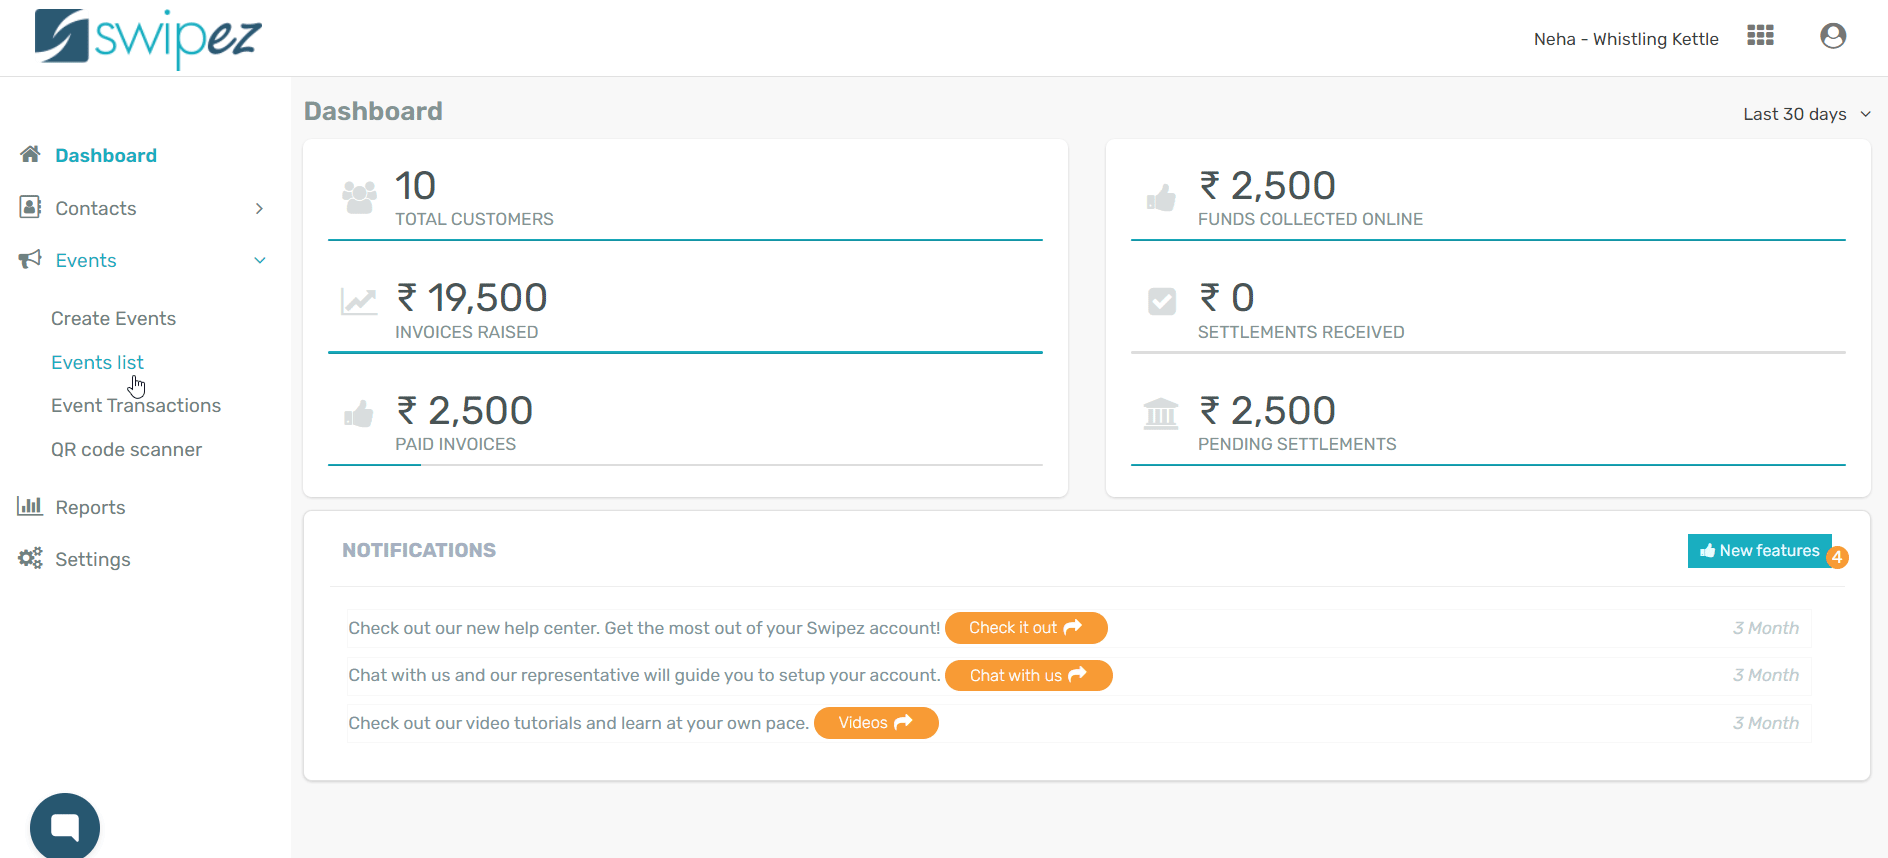
Navigate to the Events tab and click on the Events list option from the drop-down.

Click on the Actions ⋮ button on the right corner of the listed event and a drop-down list should appear.
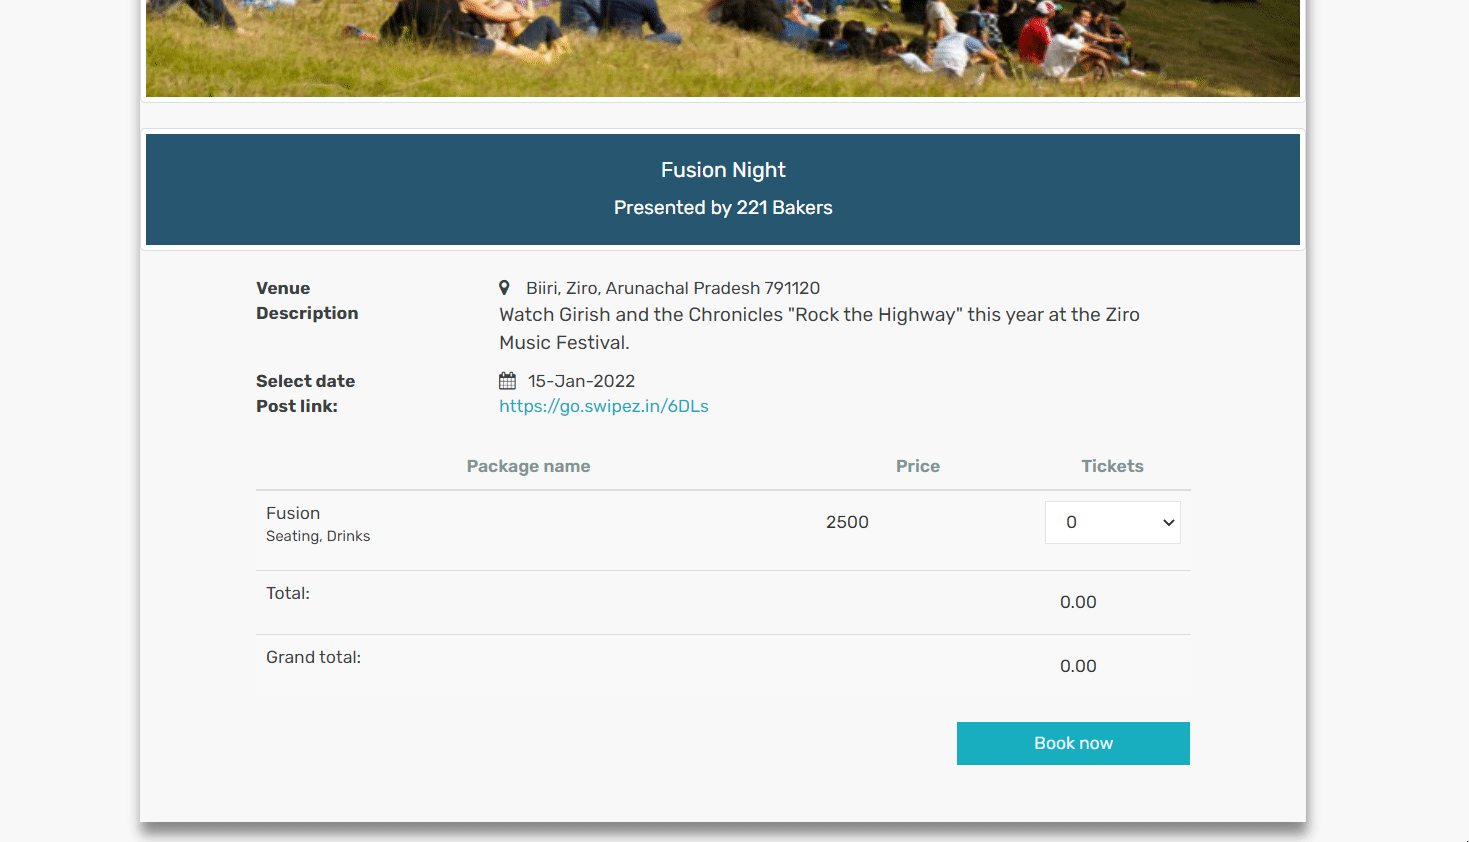
Upon clicking on the View event option from the drop-down, a new tab should open up with details of the event within the dashboard itself.

Scroll to the bottom of the page to choose the number of tickets and the the price will be auto calculated. Click on the Book now button to book your tickets/seats.
Enter payee details for the event booking. If the purchase is made by a customer who is already in your database, you can select customer from the drop-down list. If it's a new customer, click on the + button to add the details.
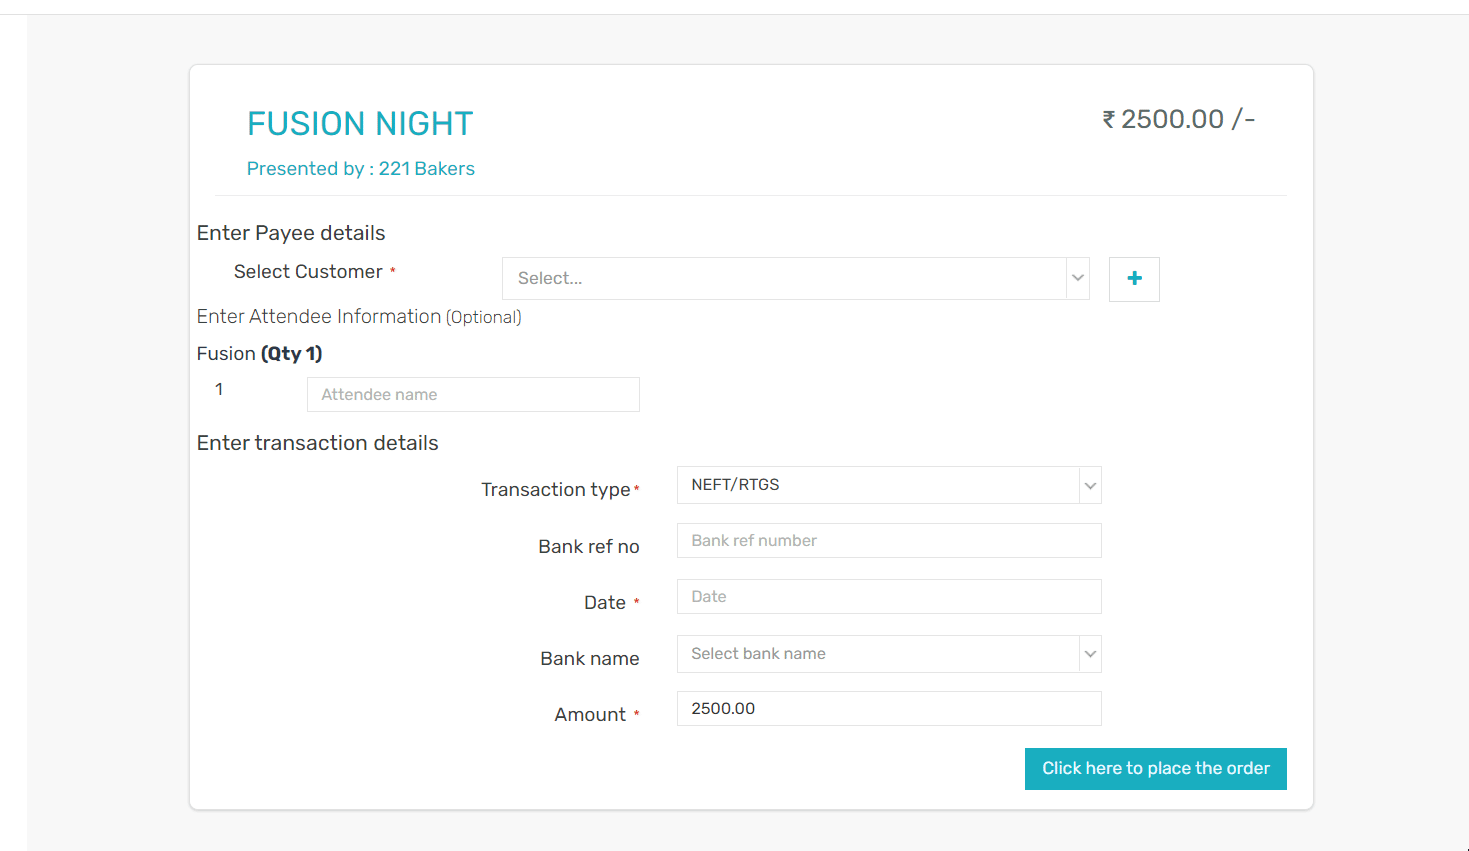
Add the details of the new customer and click on Save. The customer's information will be automatically added to your customer database for future use.
The names of the attendees can be filled. This will help give you an accurate attendees list for the event.
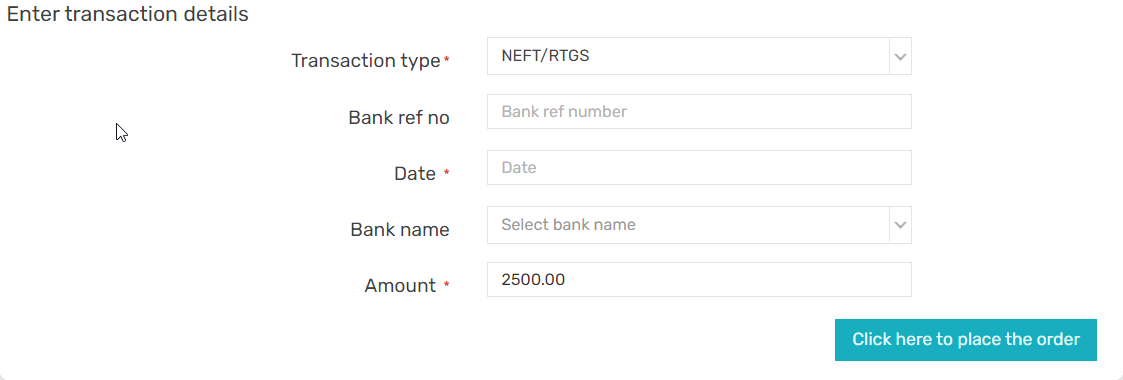
Enter transaction details for the event booking like transaction type to choose the payment instrument. You can make payments via NEFT/RTGS, Cheque, Cash, or Online Payment.
Add details like bank reference number, the datewhen the payment was made, bank name, and amount. Make the changes to fields and click on the button which says Click here to place the order.
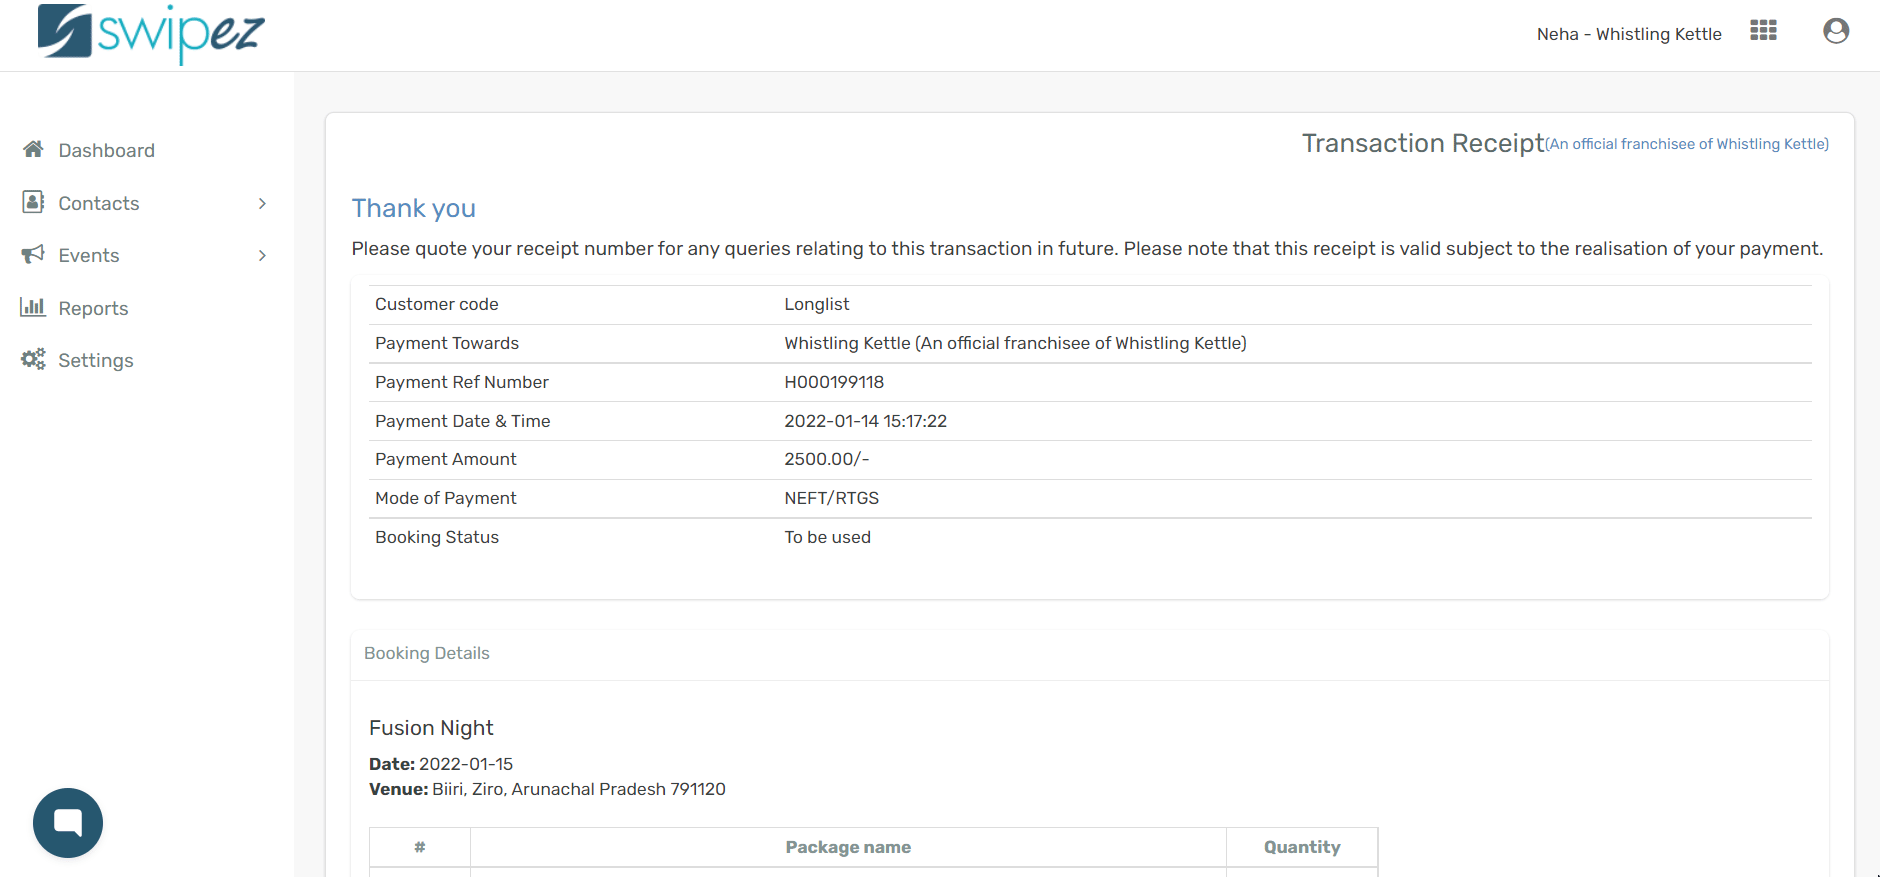
A page should appear with the transaction receipt reflecting the details of the transaction.
Click Print if you would a printed copy of the booking with the details attached to the receipt.