
Covering notes help personalize your messaging while sending invoices to your customers. Enable the Covering note plugin to add covering notes to your invoices.
To know more about how to create a covering note for your invoices, read...
Add a covering note for your invoice
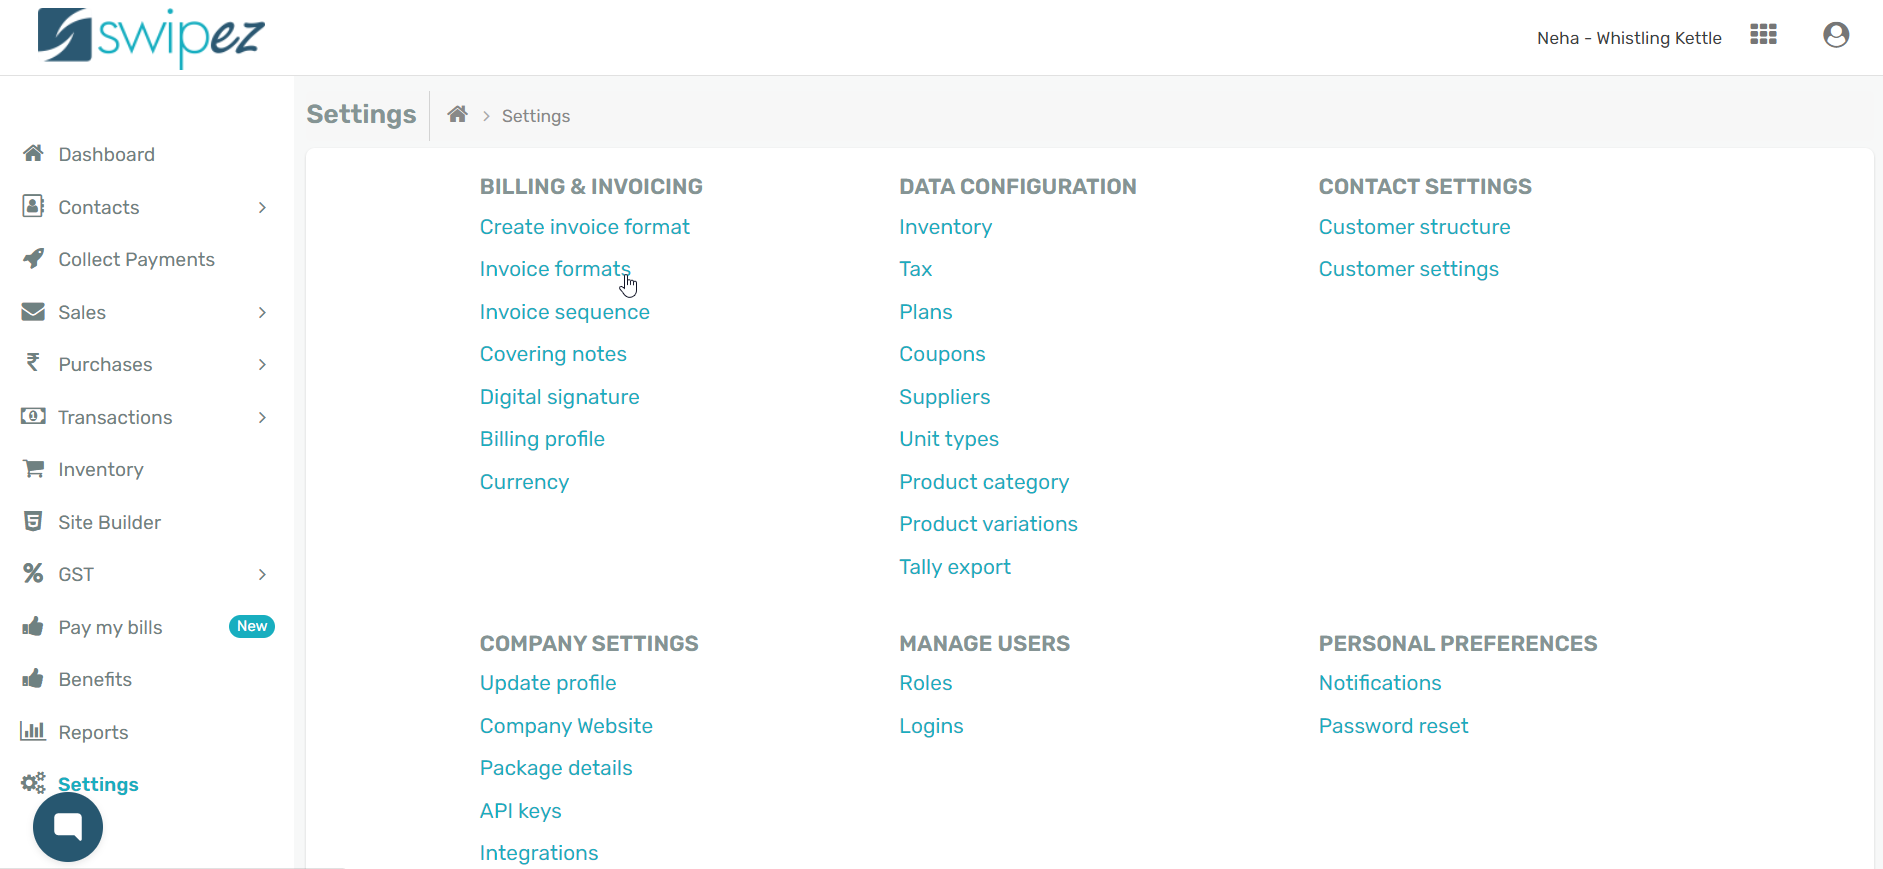
To enable Covering notes in an existing invoice format navigate to Settings -> Invoice Formats
Select the invoice format you want to enable the customize payment receipt plugin for and click on the Actions ⋮ button next to the chosen invoice format to Edit and add the plugin.

Scroll down to the Plugins section and click on Choose Plugins.
Against the Covering note plugin click the toggle to switch it On. Your Plugins section should show the Covering note plugin as enabled.
To use a previously created covering note template, Select Template from the drop-down list.
Click on the Add new note button to create a new covering note template for the invoice format.
Save changes in the Final summary section to save the edited invoice format with the covering note plugin enabled.
Send an invoice with a covering note
Navigate to Collect Payments -> Create Invoice
From the Choose a template section, select the invoice template with the covering note plugin enabled and click Select.
You can edit the covering note or create a new message by clicking on the Add new note button, when generating an invoice.

Click on the Preview invoice button in the Final summary section to review the details of the invoice. Click on Save & Send to send the invoice with the attached covering note.
Your customer will receive an email with the message of the covering note and the invoice attached as a PDF. The invoice will also be linked within the covering note to give your customers quick access to view the invoice.
Get a free billing account!