
Follow the simple steps to create a new customer by entering your client information into an easy-to-use form.
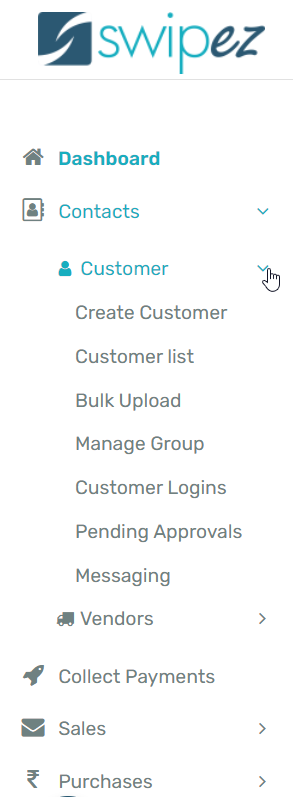
Navigate to the Contacts section and click on Customer. Select the Create Customer option from the dropdown menu below.
Enter customer information into the System Fields such as

- Customer Code: This is a one-of-a-kind, customizable code that aids in customer identification and distinguishes clients with similar fields. You can set the code to auto-generated. You can choose your customer code prefix, and Swipez will automatically add each customer code with that prefix in increasing order.
If you prefer to enter the customer code manually, that option is also available.
- Customer Name: Enter the customer's name, keeping in mind that special characters like &,@, percent, and * are not permitted.
- Email & Mobile Number: Add the customer's contact information like email address and phone number. Ensure that the details are accurate since both the invoices and payment links will be sent according to the information entered.
- Address: Add the address details of the customer including the city, state, and zip code.
To know more about how to create and manage your customer database structure read...
To include Custom Fields, click on the Add field button.
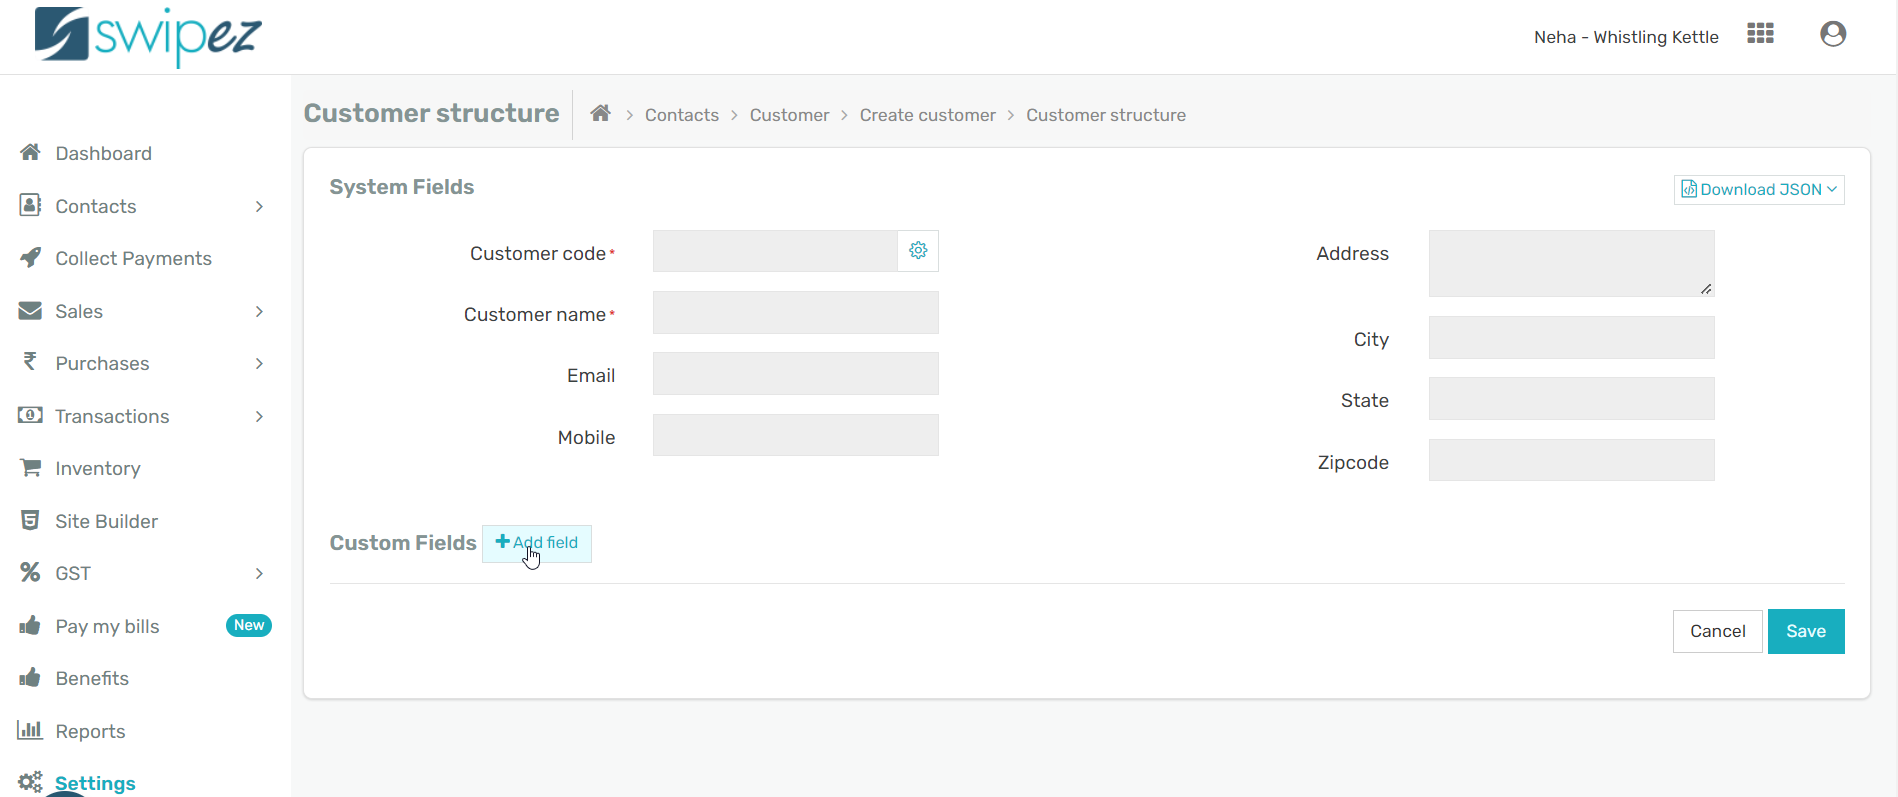
Enter Custom Fields as per your industry requirements to ensure that you capture all details required to provide a better service for your client.
Click Save to save the customer details within your dashboard.
To know more about adding custom fields when creating an invoice click here.
Now that you know how to create a customer, here's a video to help you create and send an invoice in a few simple steps.
Related apps
- Billing software - Free billing software, customer data management, recurring invoices, payment reminders, and more.